
Let's see your projects! Start a post describing what you're working on and show some pics and videos! Let's help each other out with that build, repair, or modification. Credit to WelderSkills member Michael Kearsey for the idea!

April 27


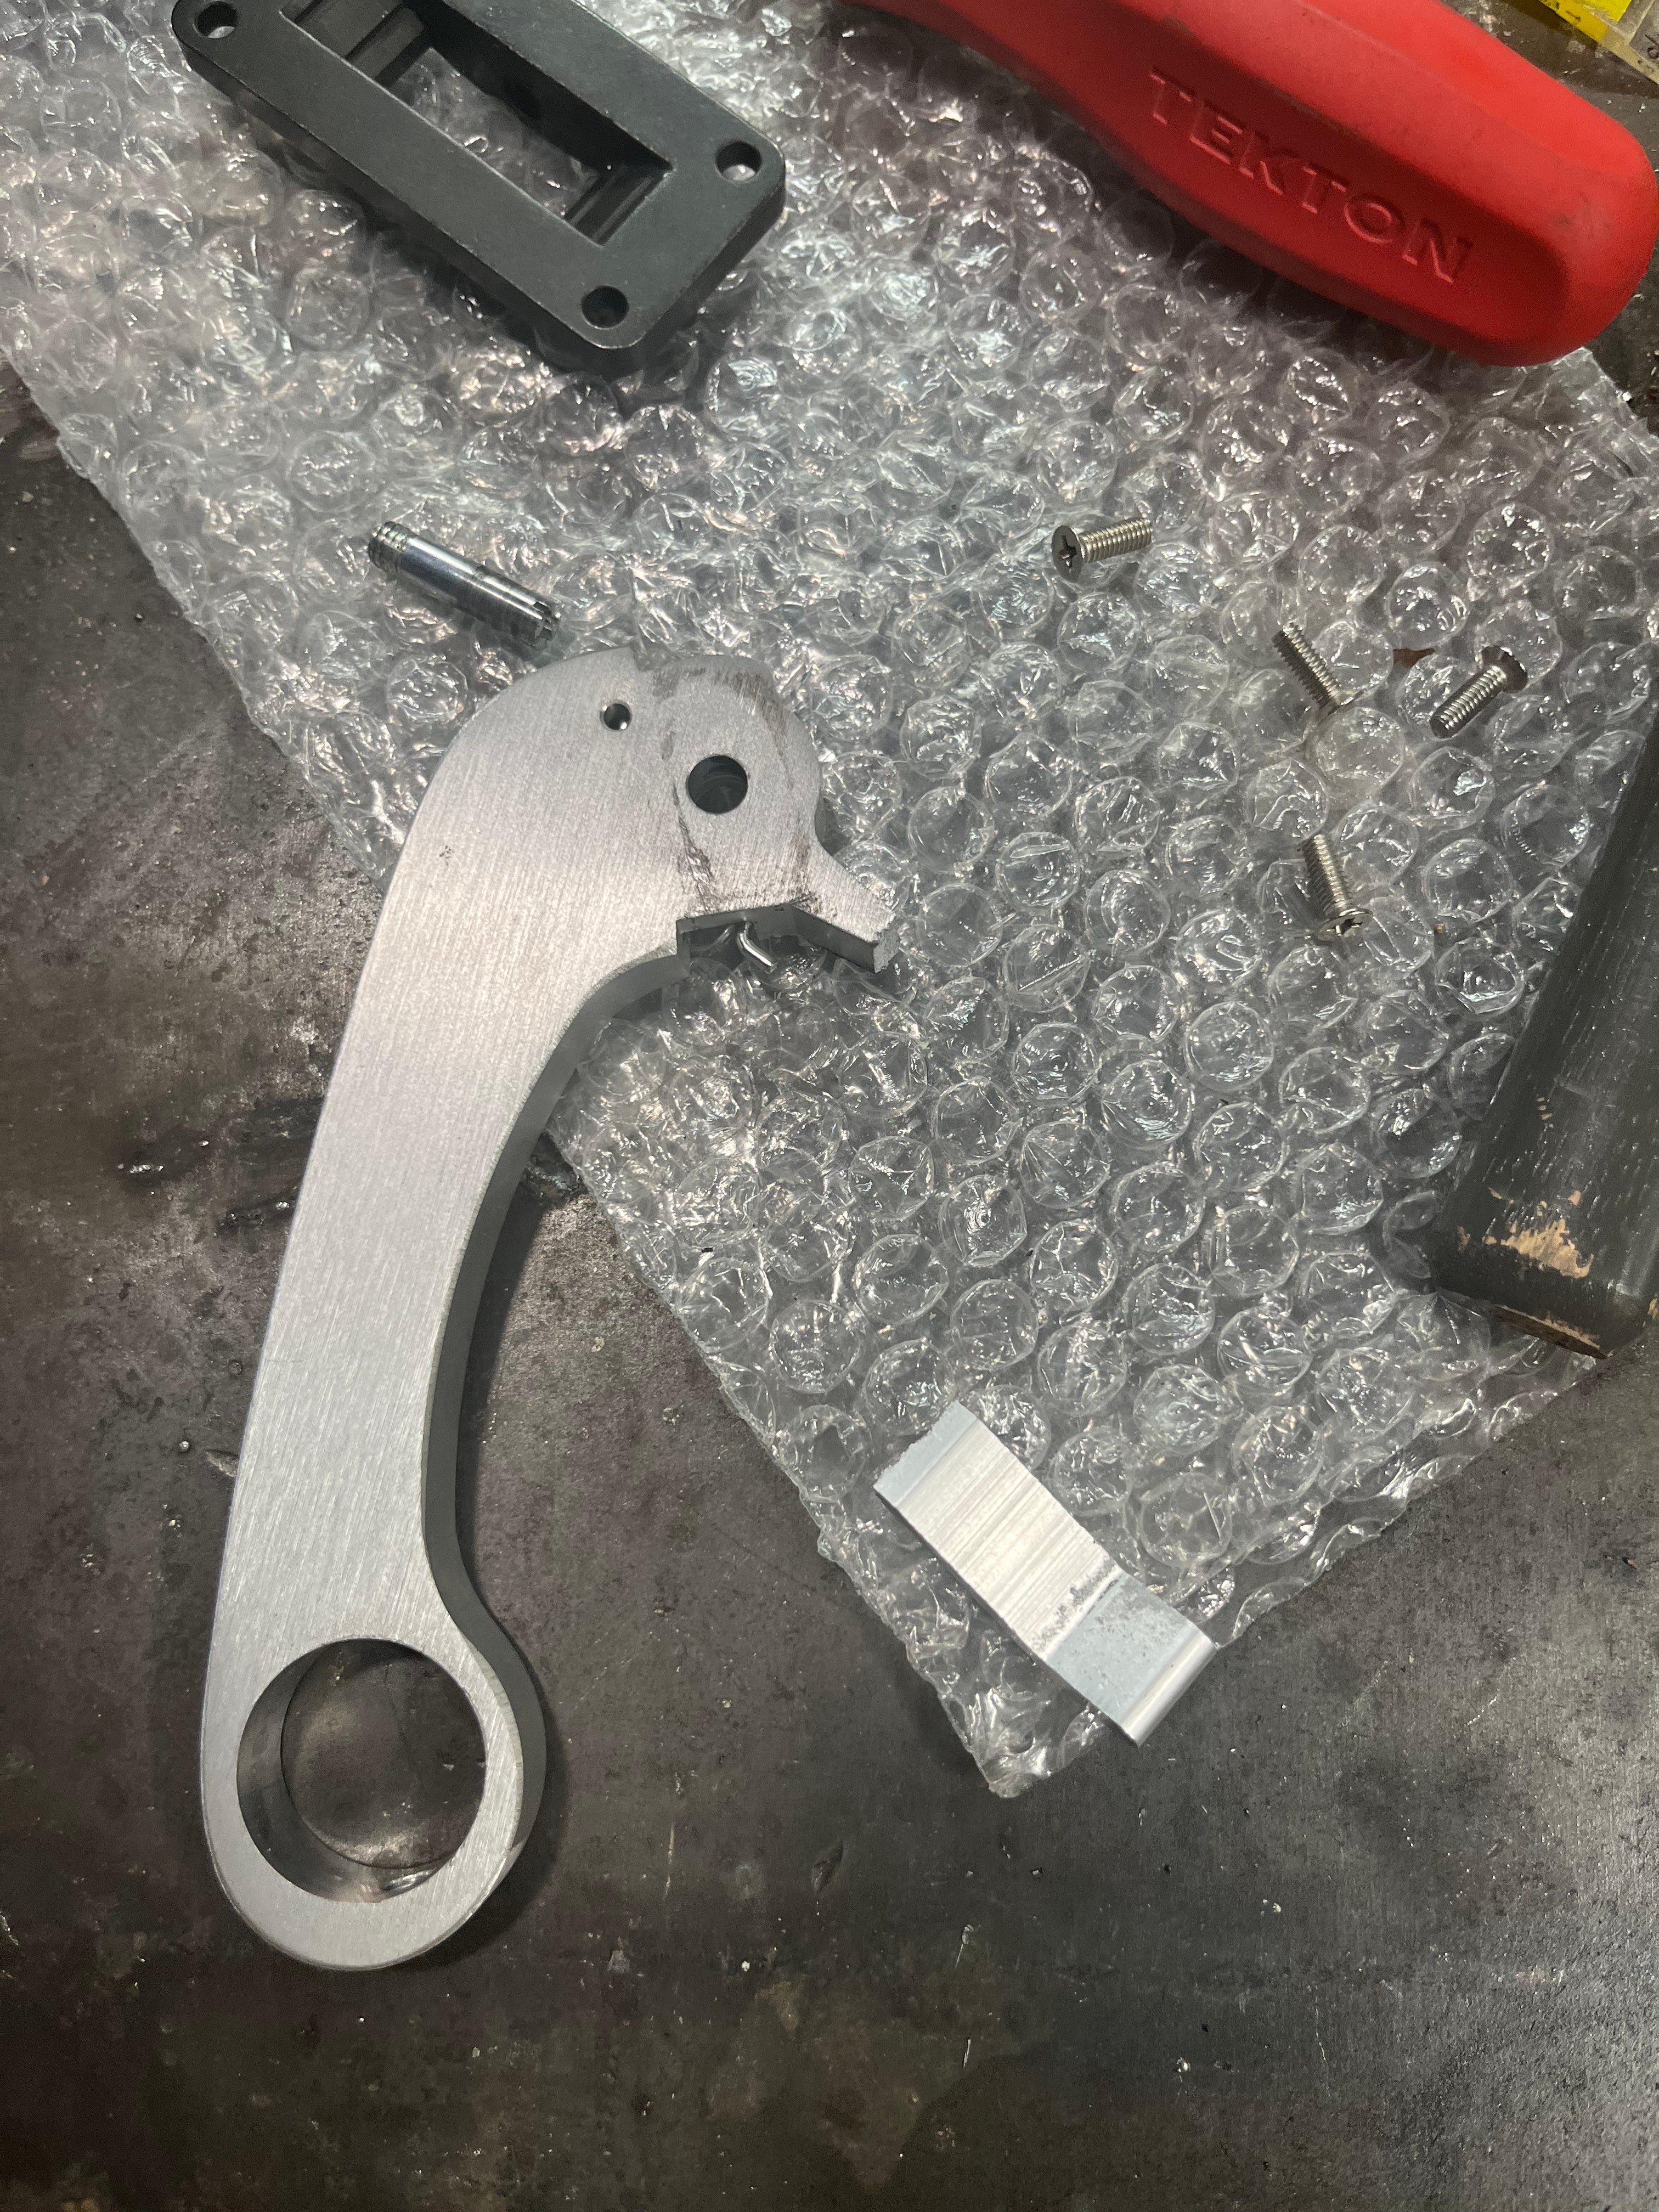
More machining than welding, but got to at least weld a little today. Turned a slug, and milled a square hole in a round peg. then welded a piece of tubing that the end of a shaft will eventually fit inside and be welded. This will ultimately operate the oil valve that feeds the burner of a steam locomotive boiler. Got to try out the TIG function of the engine house's Miller Multimatic 220. It seemed to make a nice smooth DC TIG arc. I'd stick welded 7018 with it before, and it did that well(but I don't believe it will run 6010.) I was happy with it, considering it was the first TIG bead I'd ever ran with it.
!/8" wall tube to a square socket made of 1045. Pre-heated the 1045, and welded at 150A. ER70S-2. There's a 1/2" long stub that the tubing is pressed over to locate it, so it had a nice heat sink behind it.

November 26, 2024
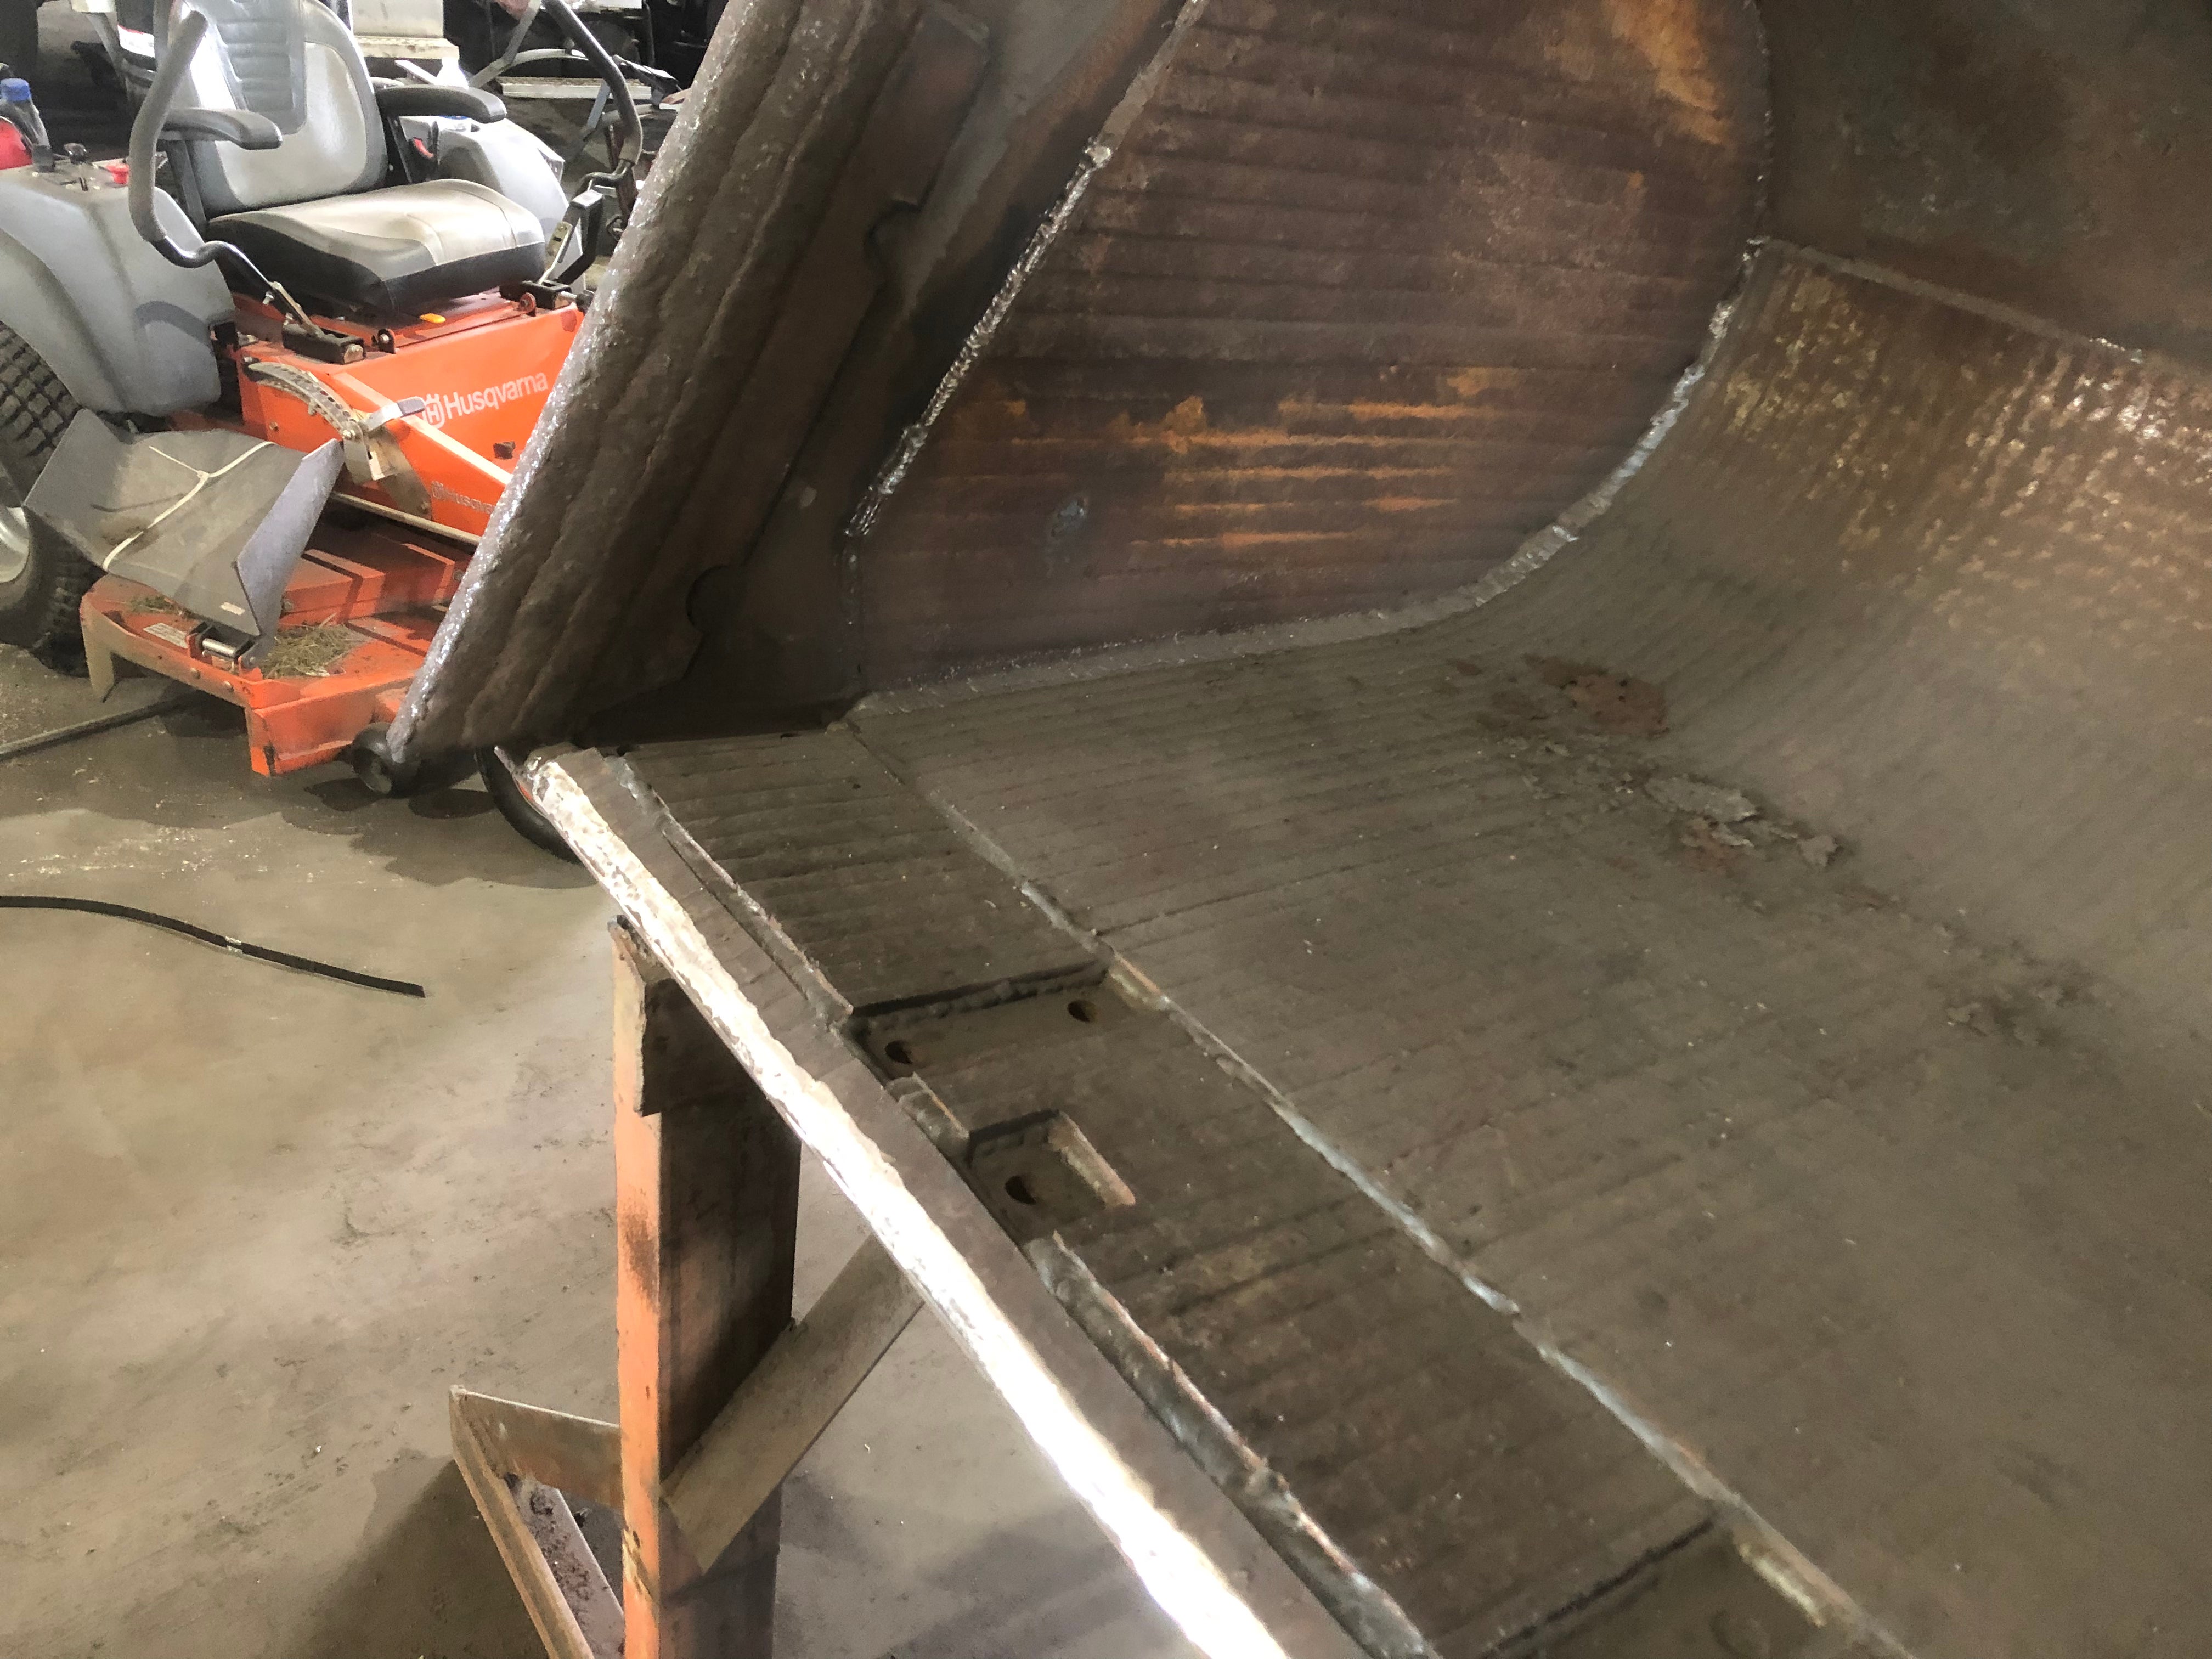
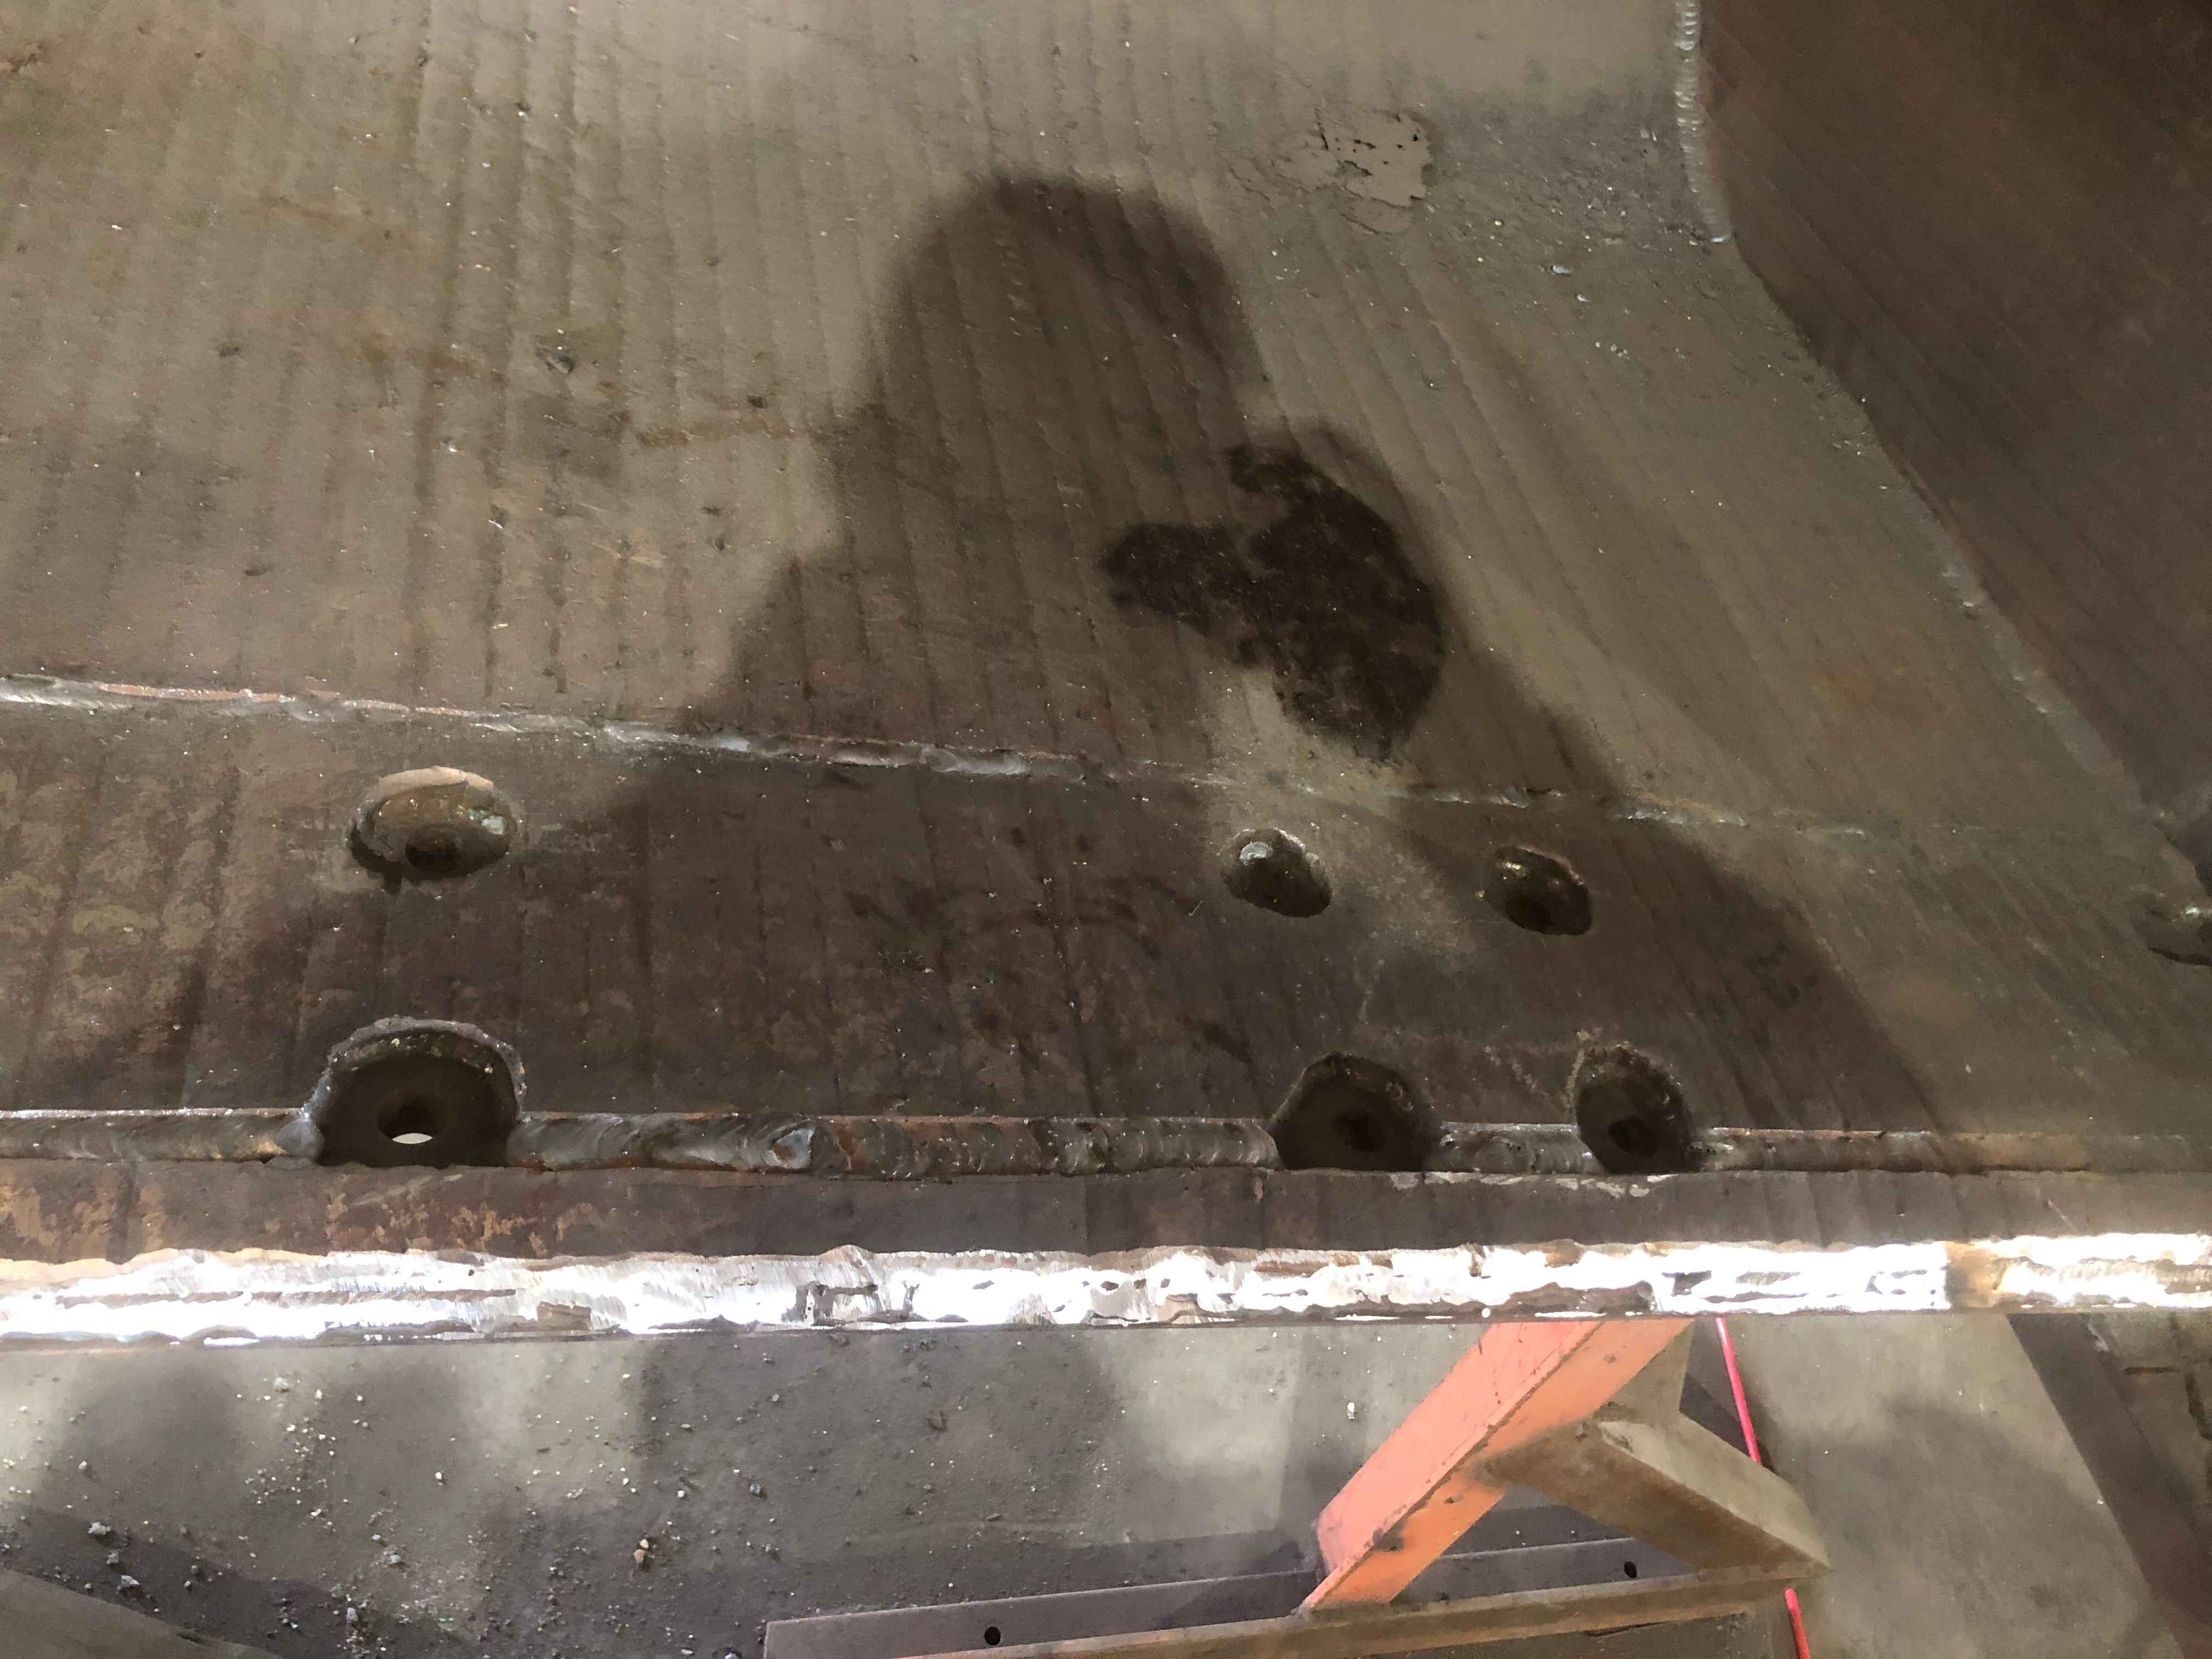
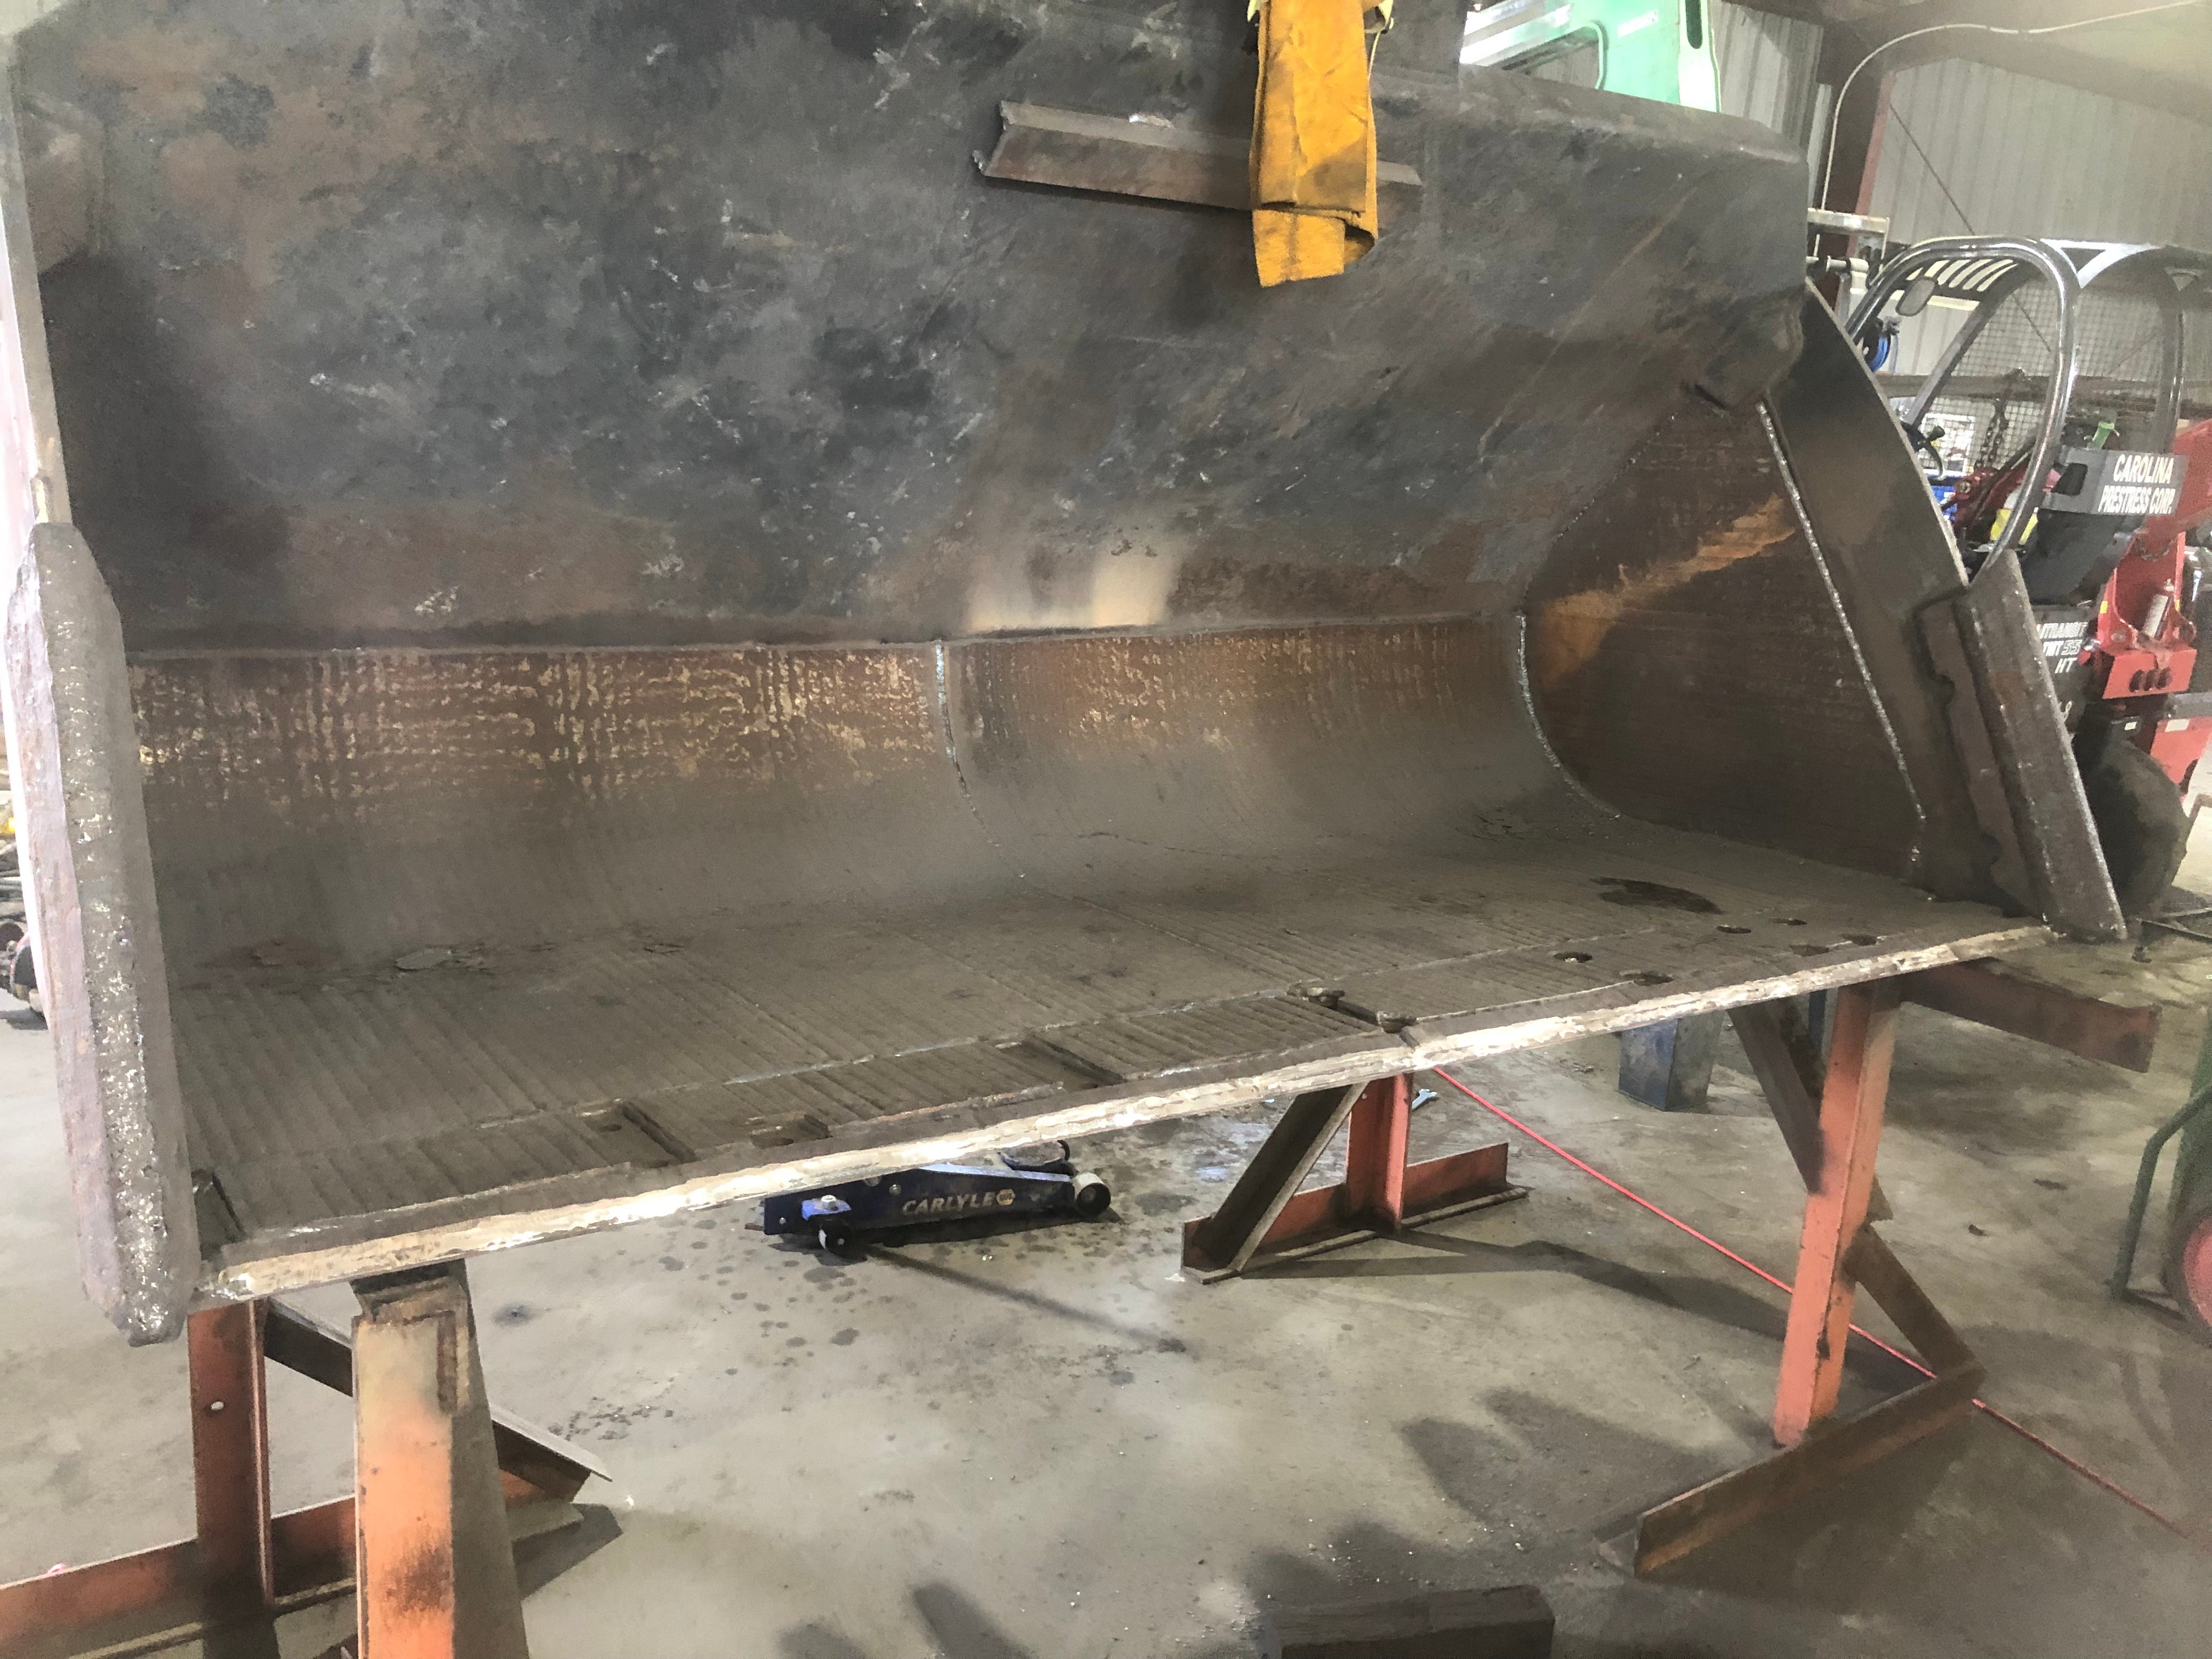
I lined this loader with chromium carbide plates when I was first starting out welding. It’s been running for some years now and still looks good. I’ll try and get a photo of it now. I had no idea how to weld quickly back here though lol. This bucket took me forever to finish.
February 17
• Edited (Mar 20, 2025)


In the process of adding a motor drive to a rotary positioner kit, that was originally designed to be driven my a cordless drill motor. I bought the positioner kit knowing this, and never intended to use the drill motor, as that seemed pretty useless. Welded an adapter plate to one of the shoulder bolt axles, so it all moves as one unit, and happy with how it works. The combo of the 100 RPM 12VDC gearmotor, and the 40:1 gear reduction in the positioner, makes for a turntable that rotates at 0-2.5 RPM. Next is to make an enclosure for the motor, and a control box that will have the speed/direction control board and the battery( this will be powered with a Milwaukee M12 tool battery ). A foot switch will start/stop the table.
Before sinking too much effort, decided to run a test bead in DC and AC to make sure the HF start and/or AC freq didn't screw with the electronic speed control and motor. Didn't miss a beat, so will proceed with the remainder of the project. First beads ever using a positioner.
Edit. Thought I'd add a rundown of the major parts I used to motorize this Weltables rotary positioner. My subscription here expires in a few days, and not sure if I'll be renewing. Some work came in, so I won't have time to finish this project until next week.
PWM Speed Control-https://makermotor.com/pn00218-cyt13-25amp-7v-58v-high-voltage-dc-motor-driver-speed-controller-md25hv/
I got the flex coupler, 12V battery adapter, and foot pedal on Amazon, and should be simple enough to find in a search. I had to turn the hex end of the positioners shaft on a lathe. You could also simply adapt a socket to the motor shaft.
Edit to add: Another follow up, with a few photos of the final assembly of the motor housing and battery holder. Positioner works great and has plenty of torque. Set a 60 pound chunk of 1045 bar on the plate, and it rotates it smoothly at any speed. Very happy with it.
February 14


Yesterday's project was welding up today's V-day gift for The Woman.

February 08
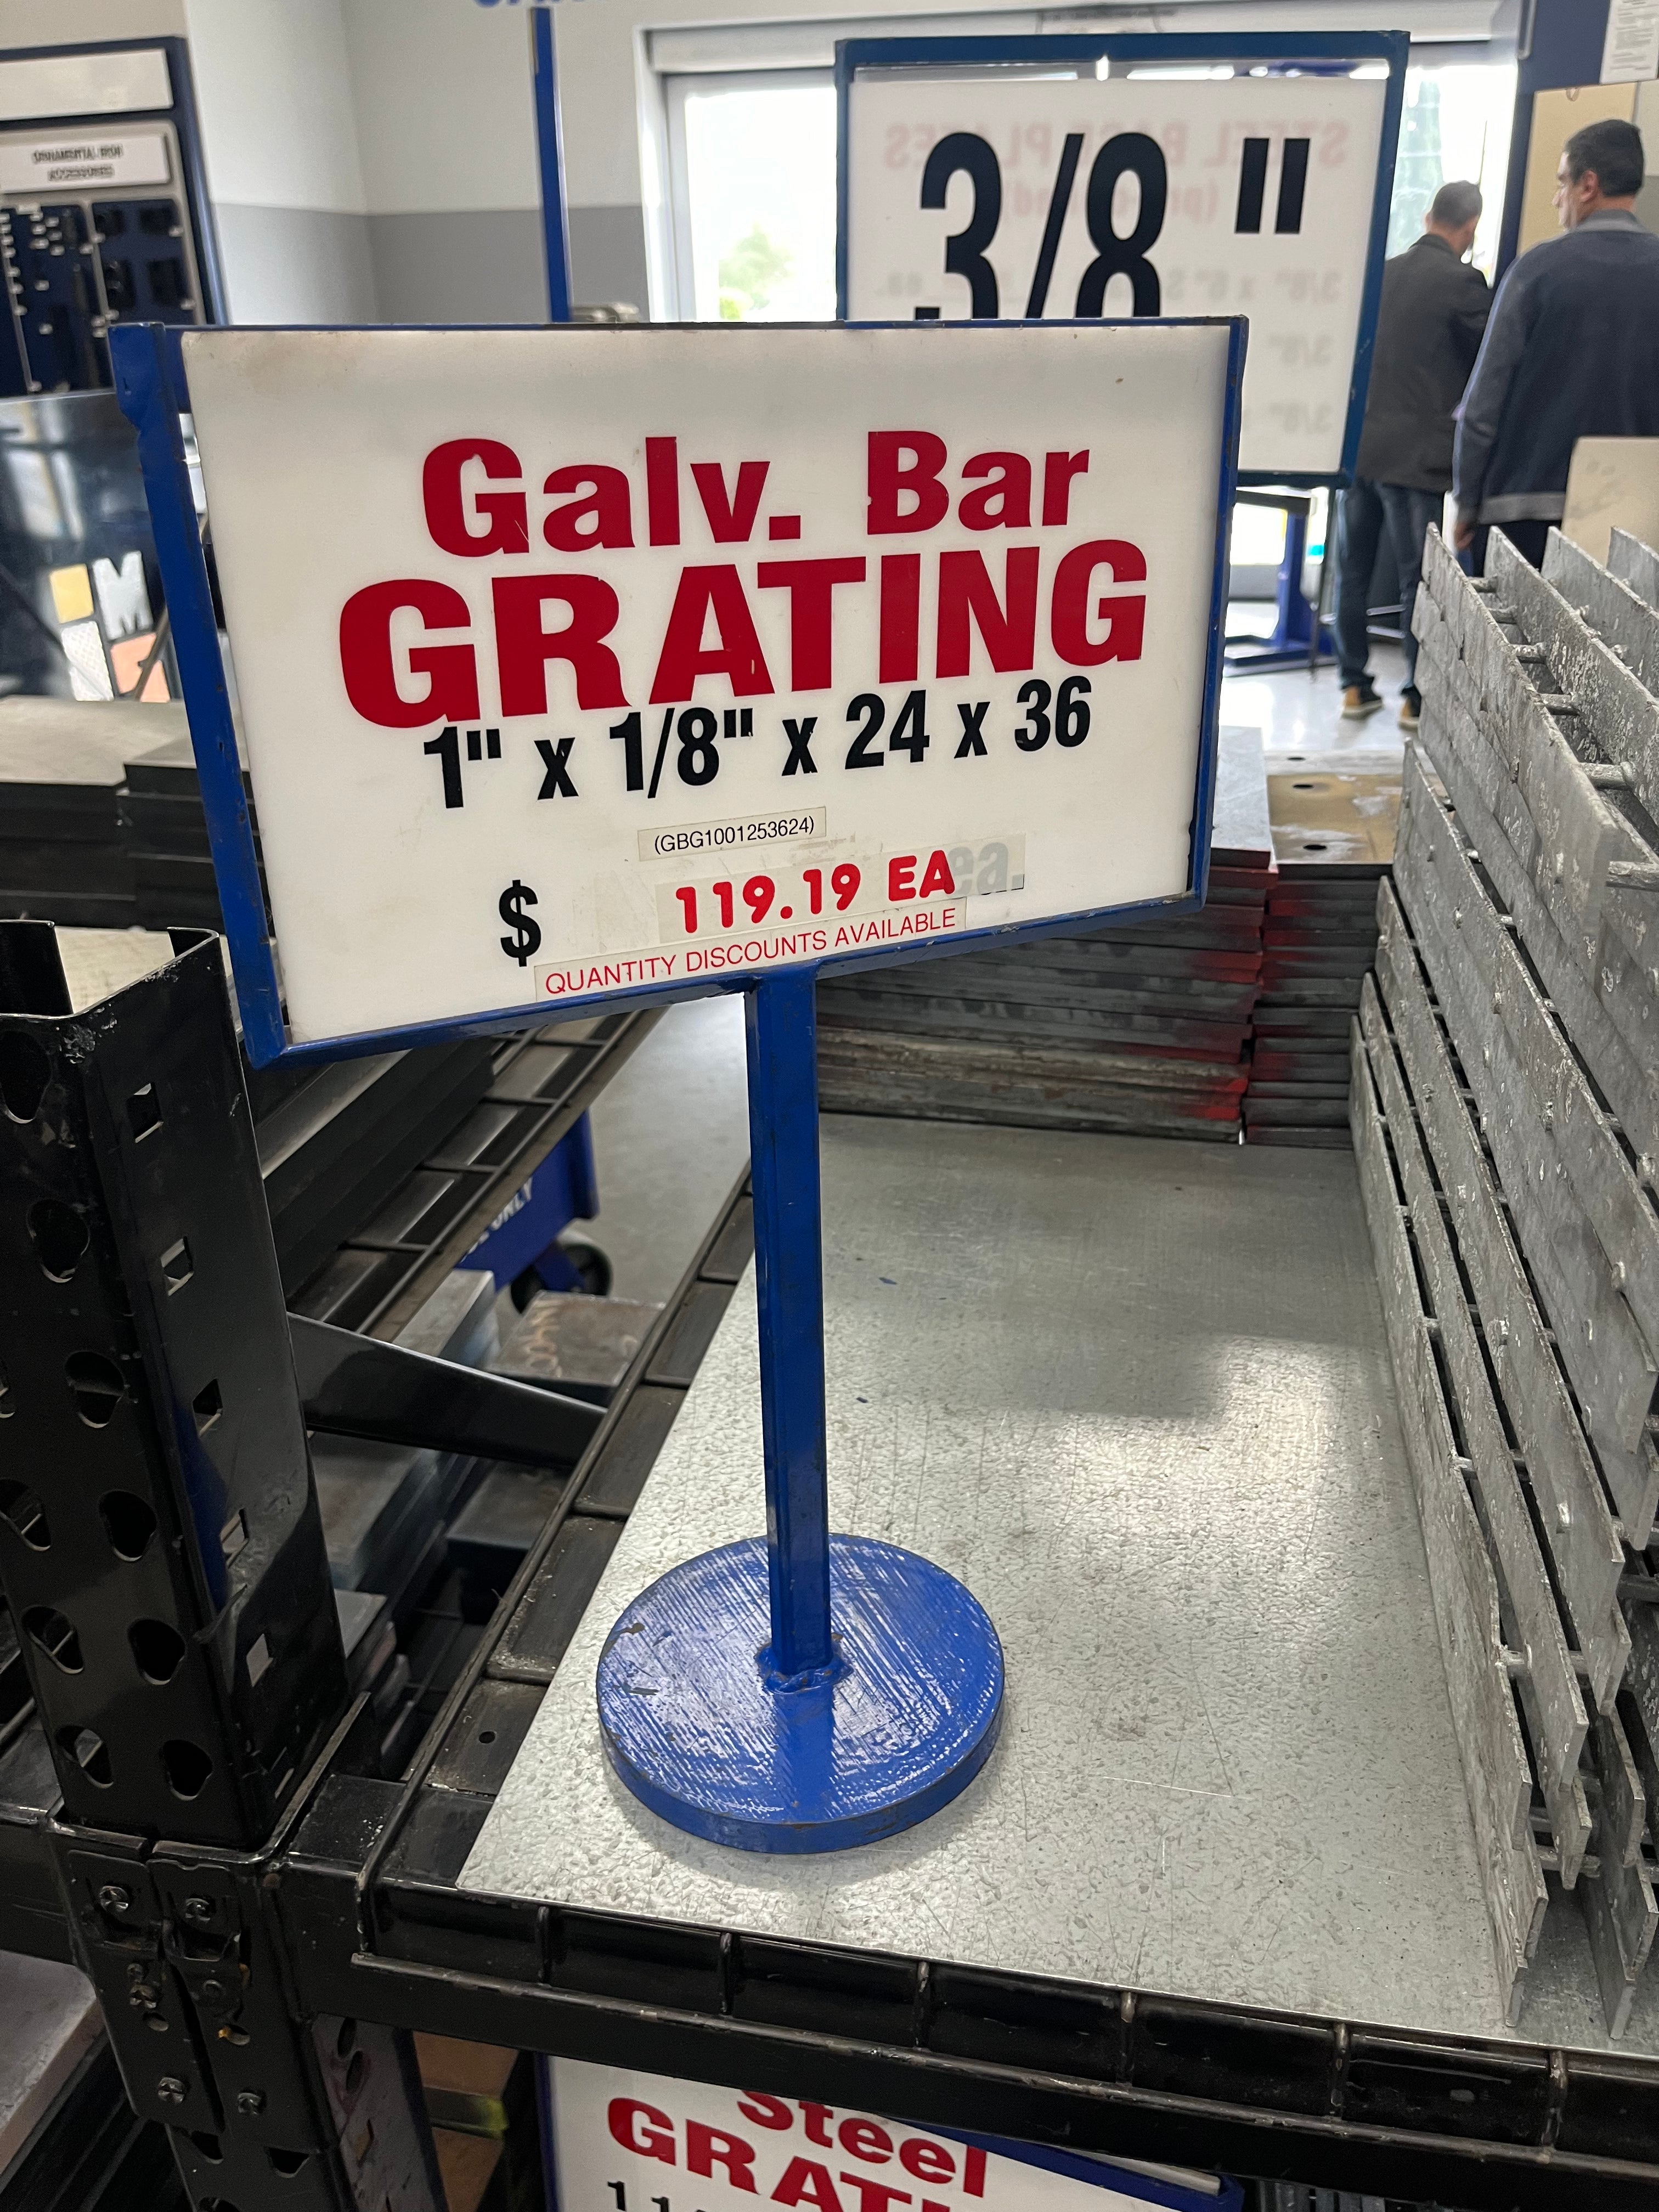
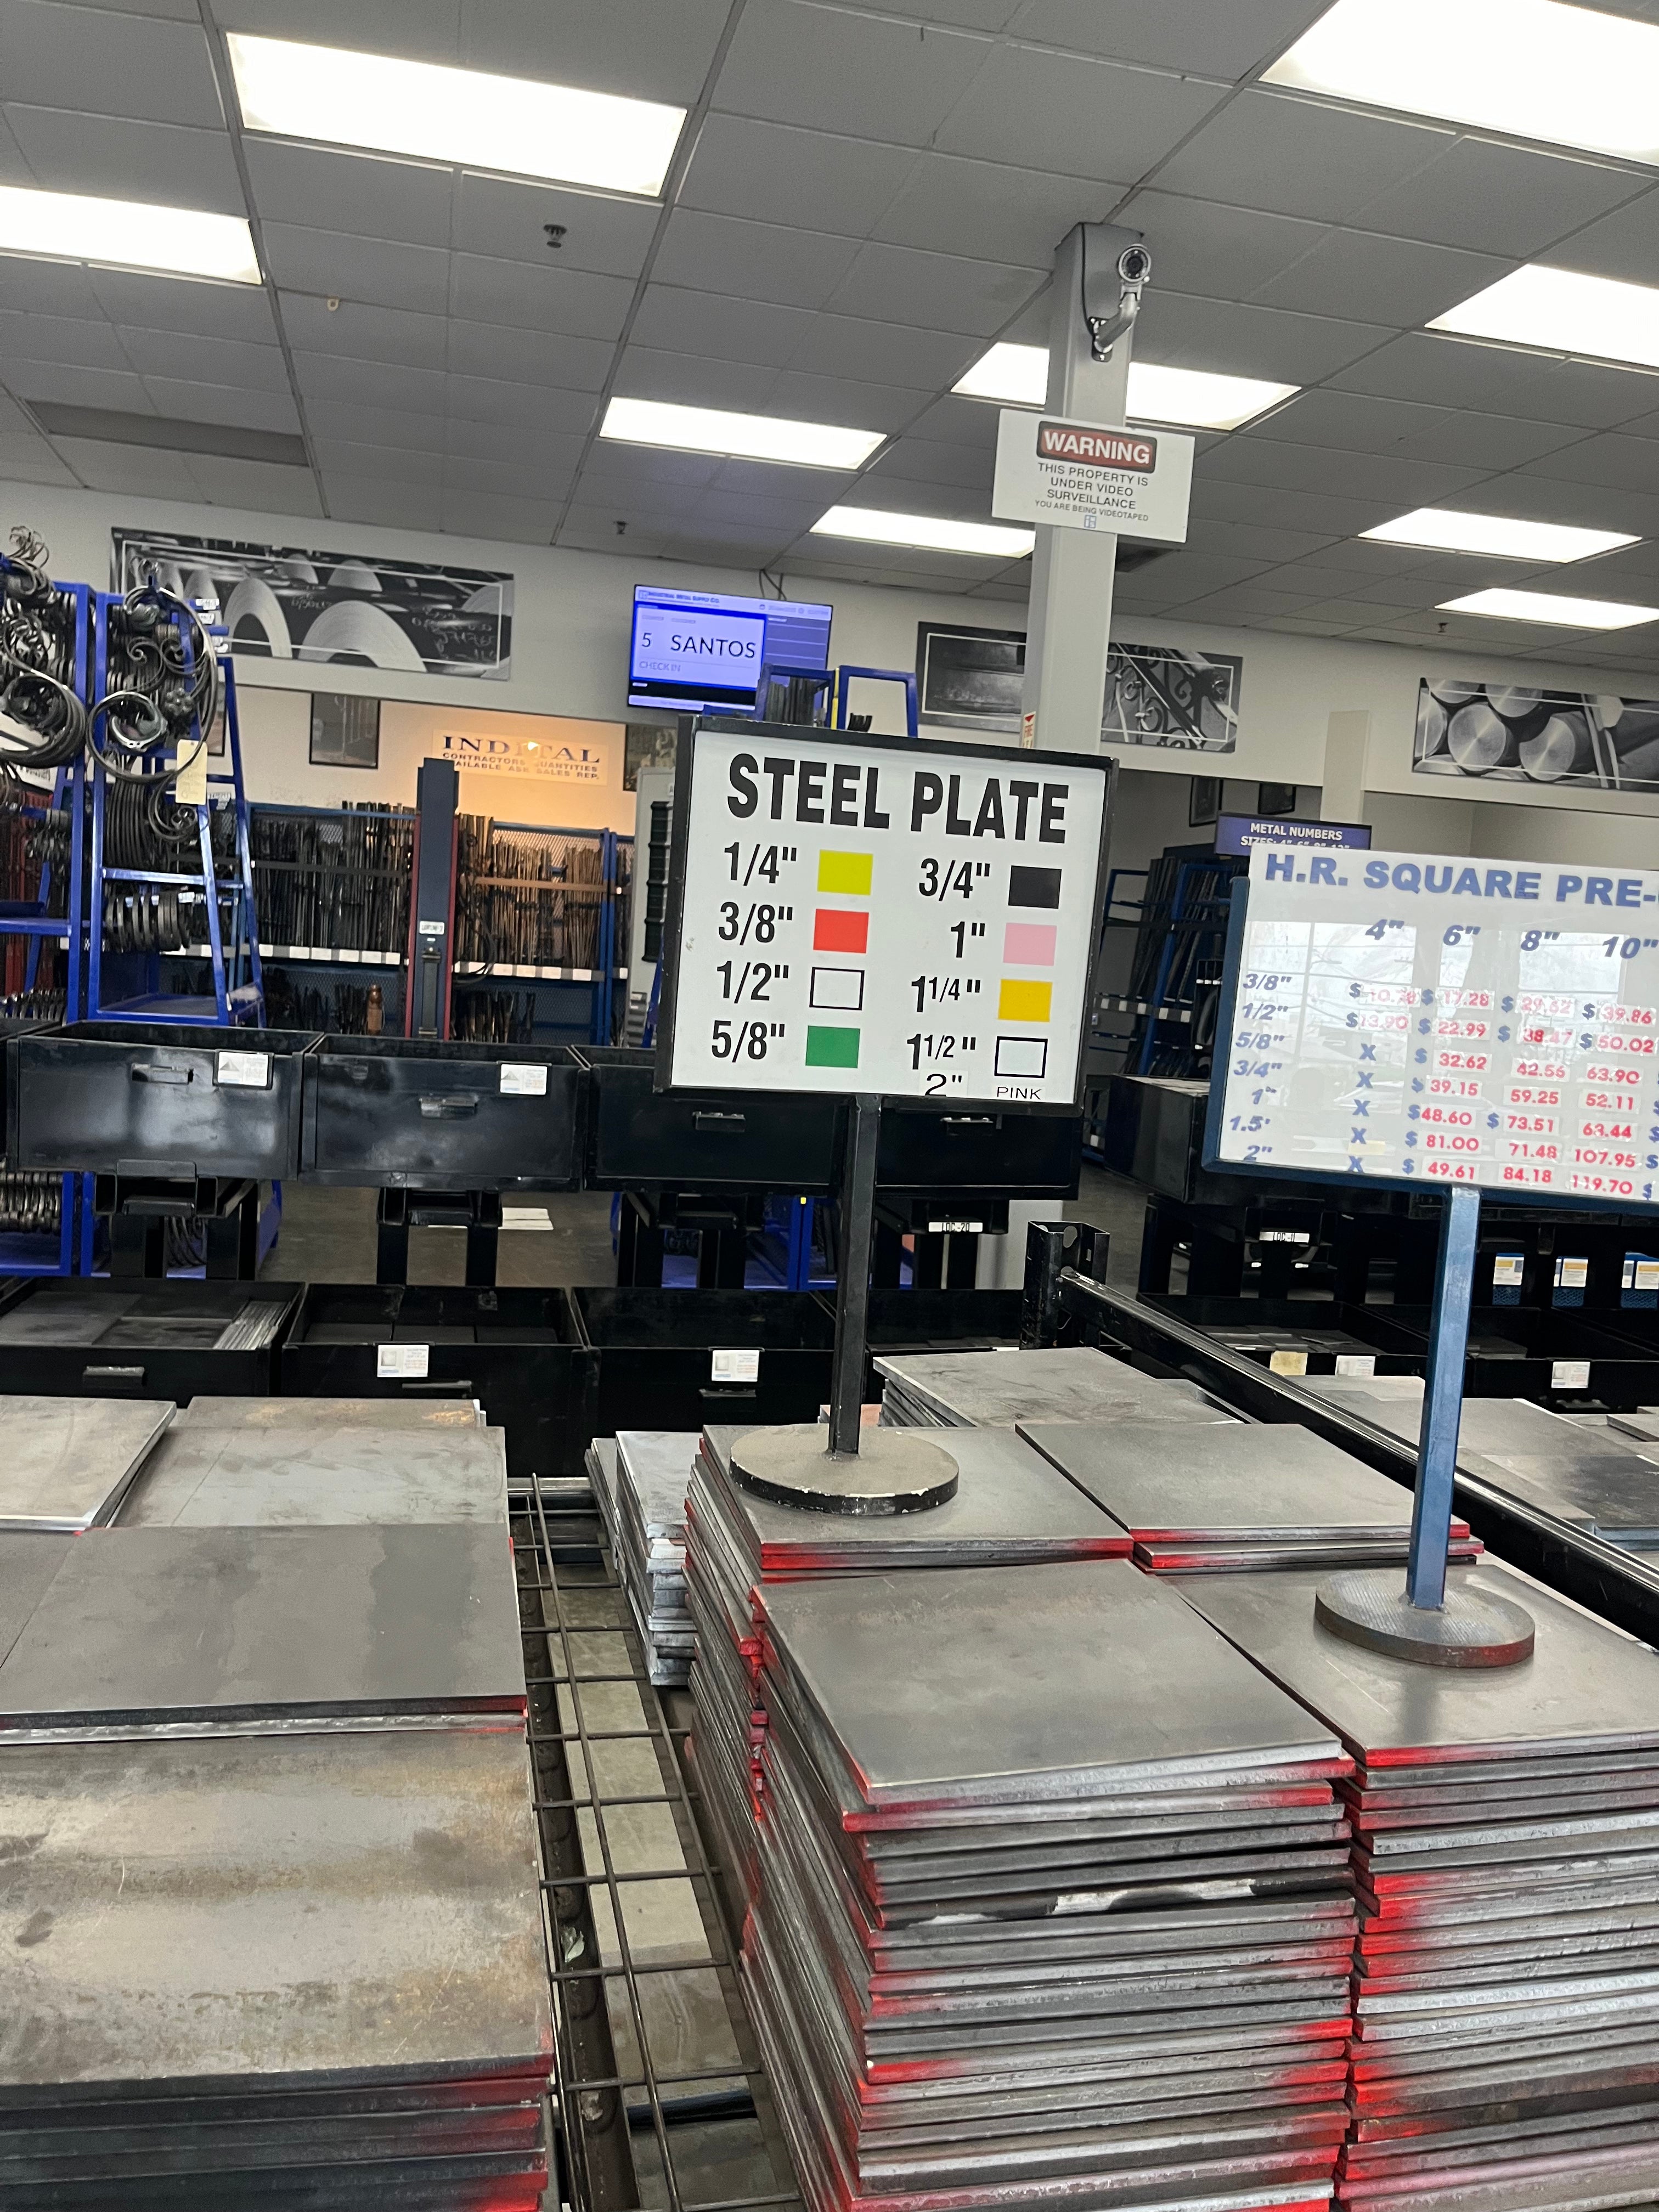
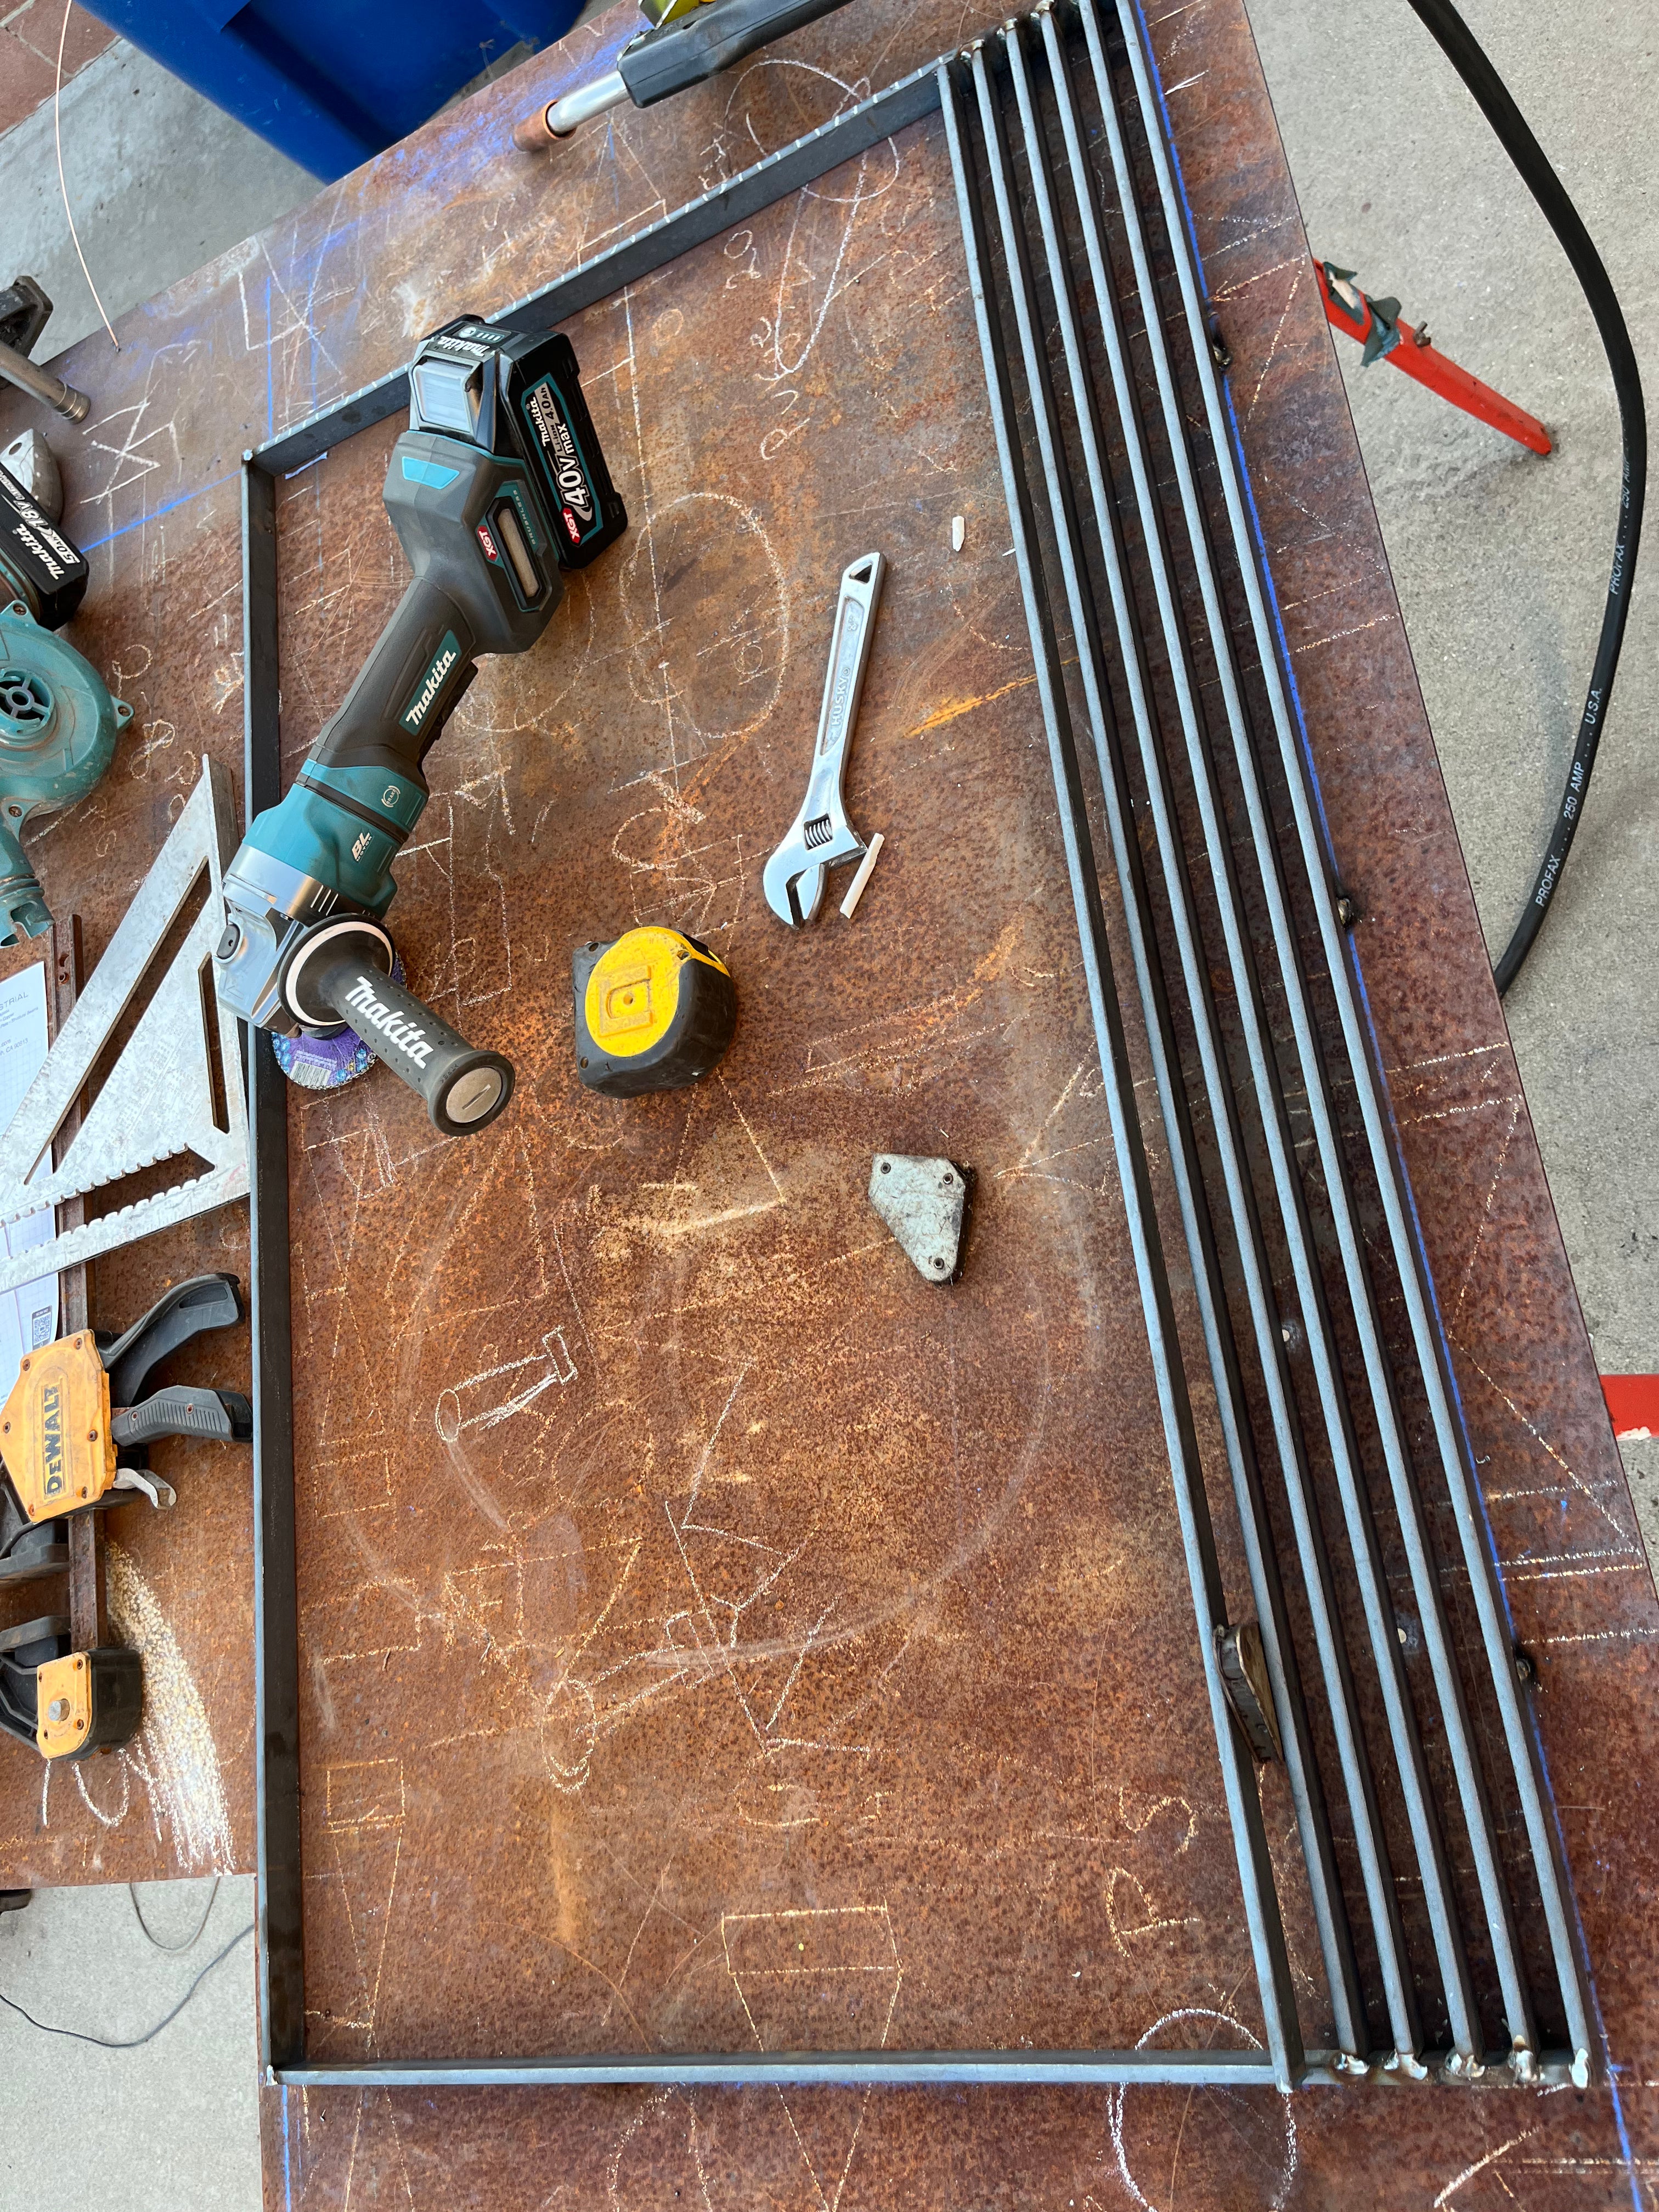
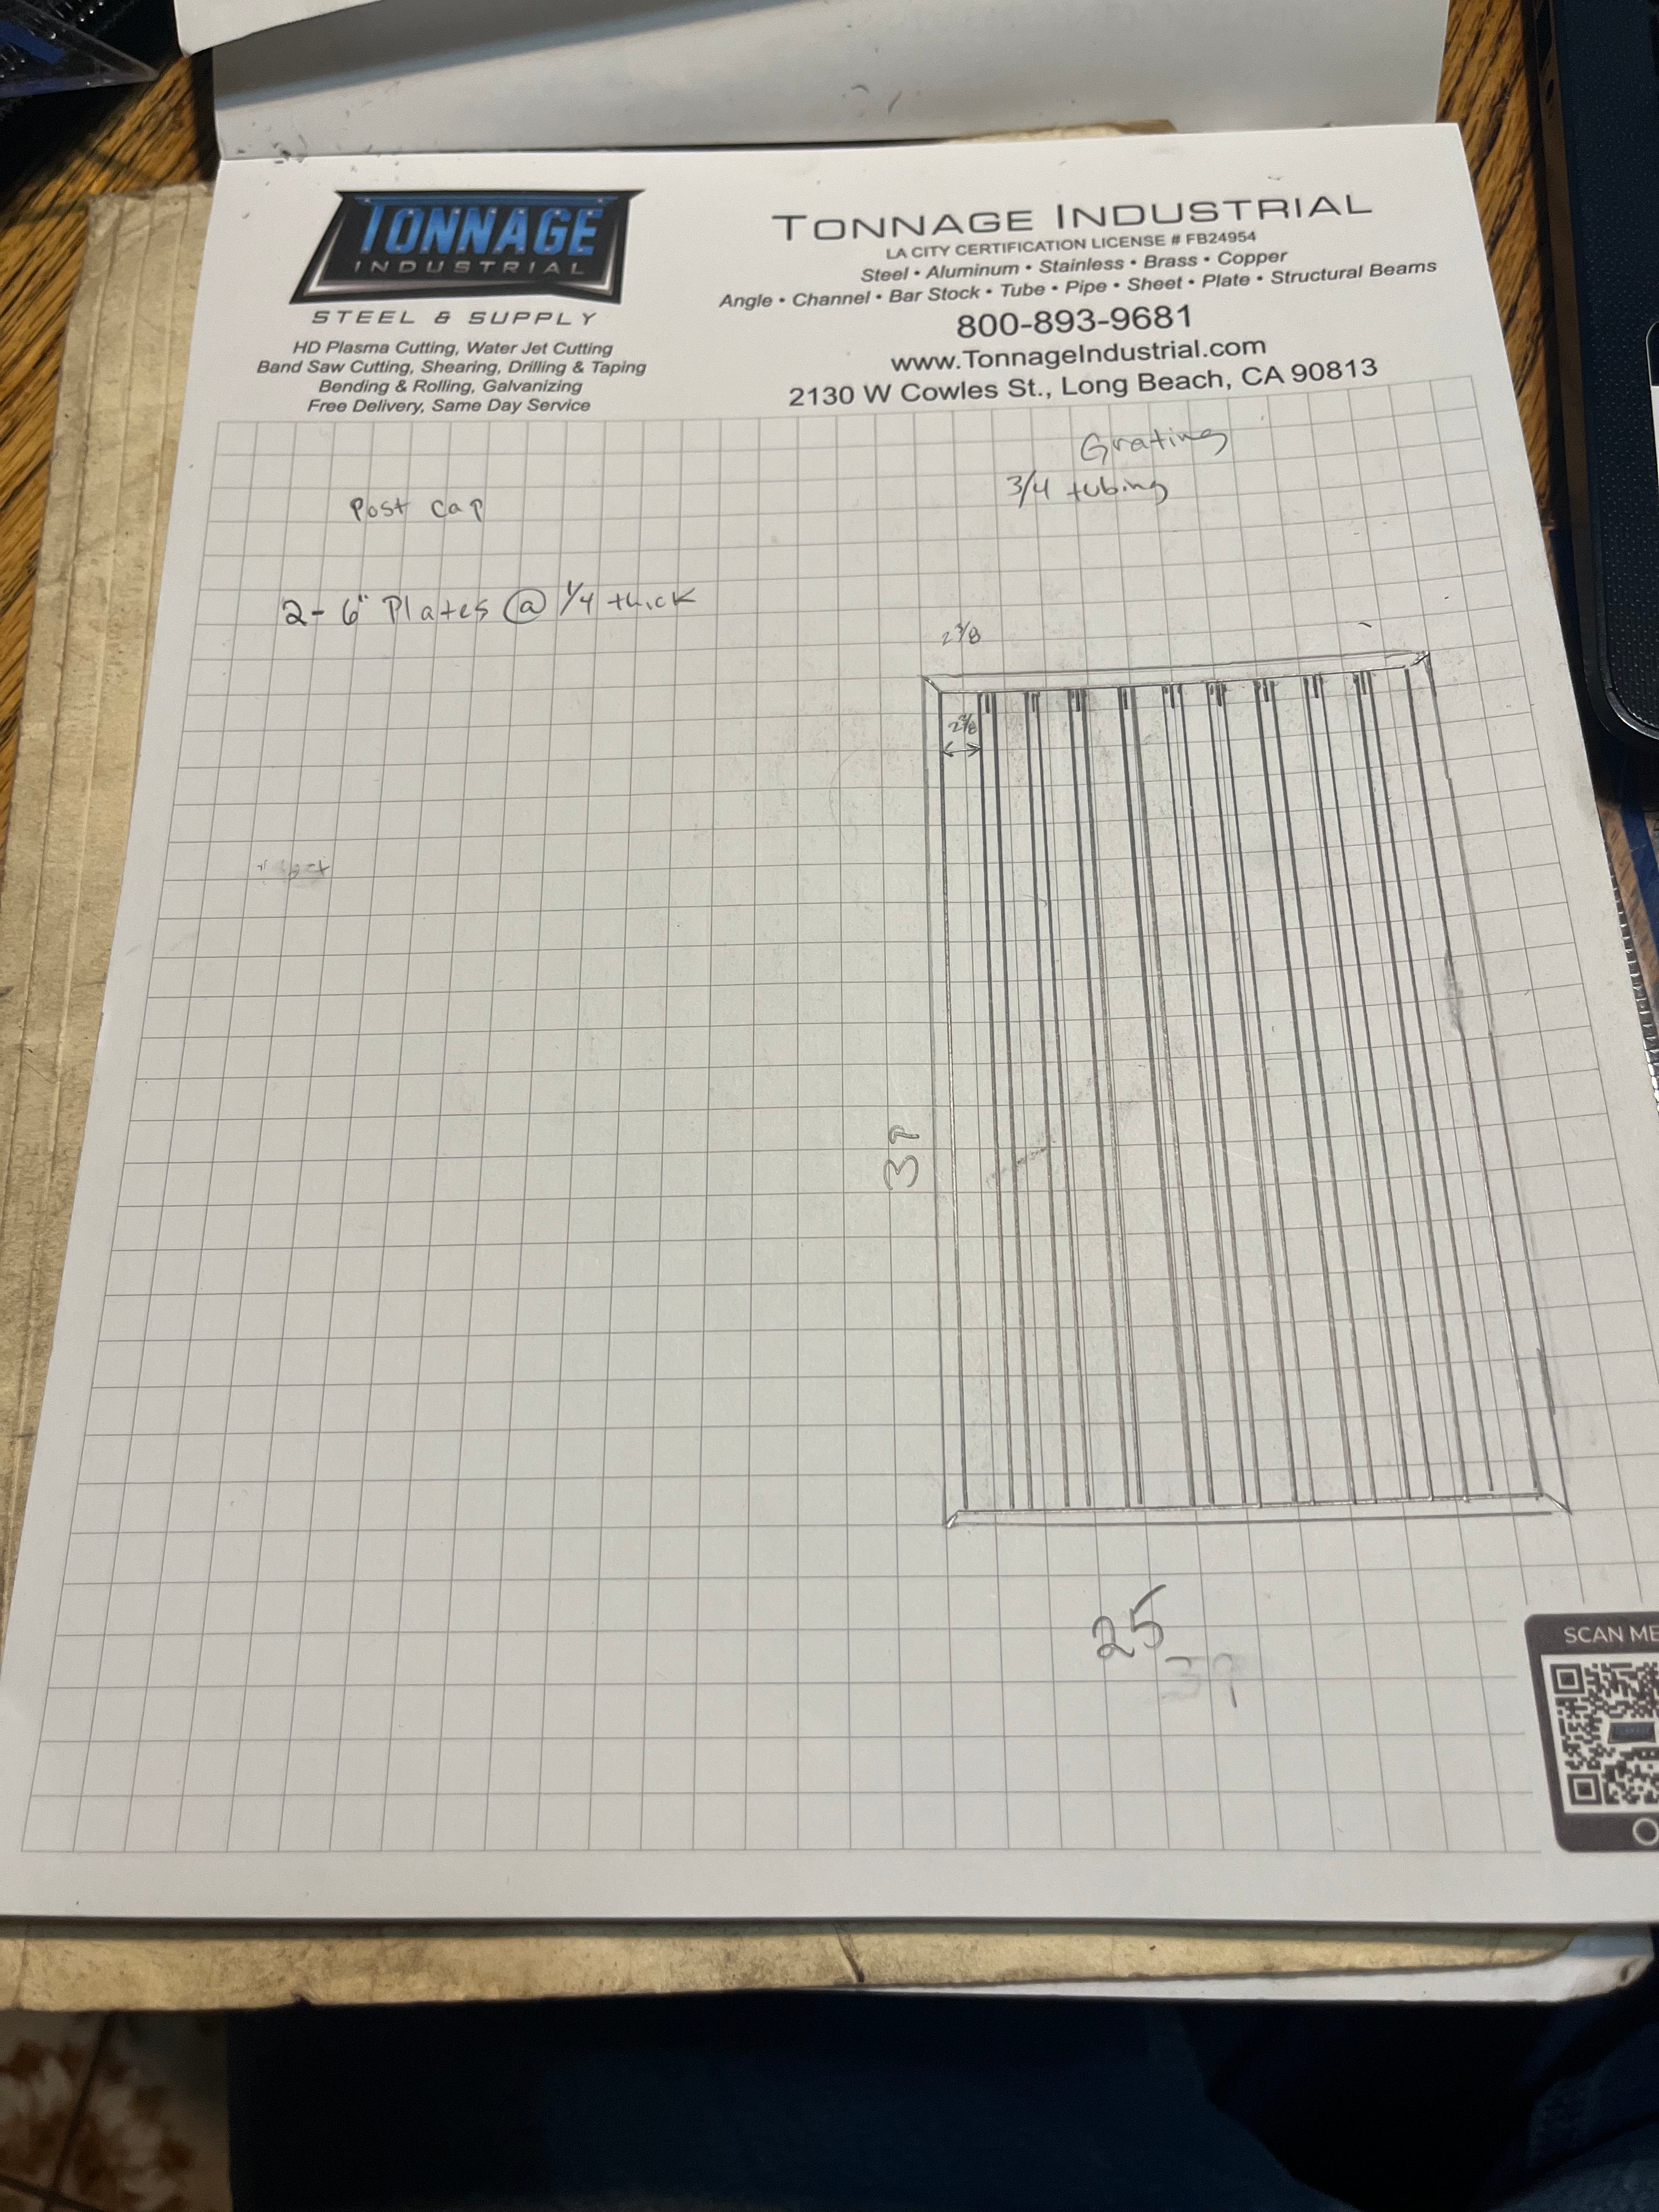
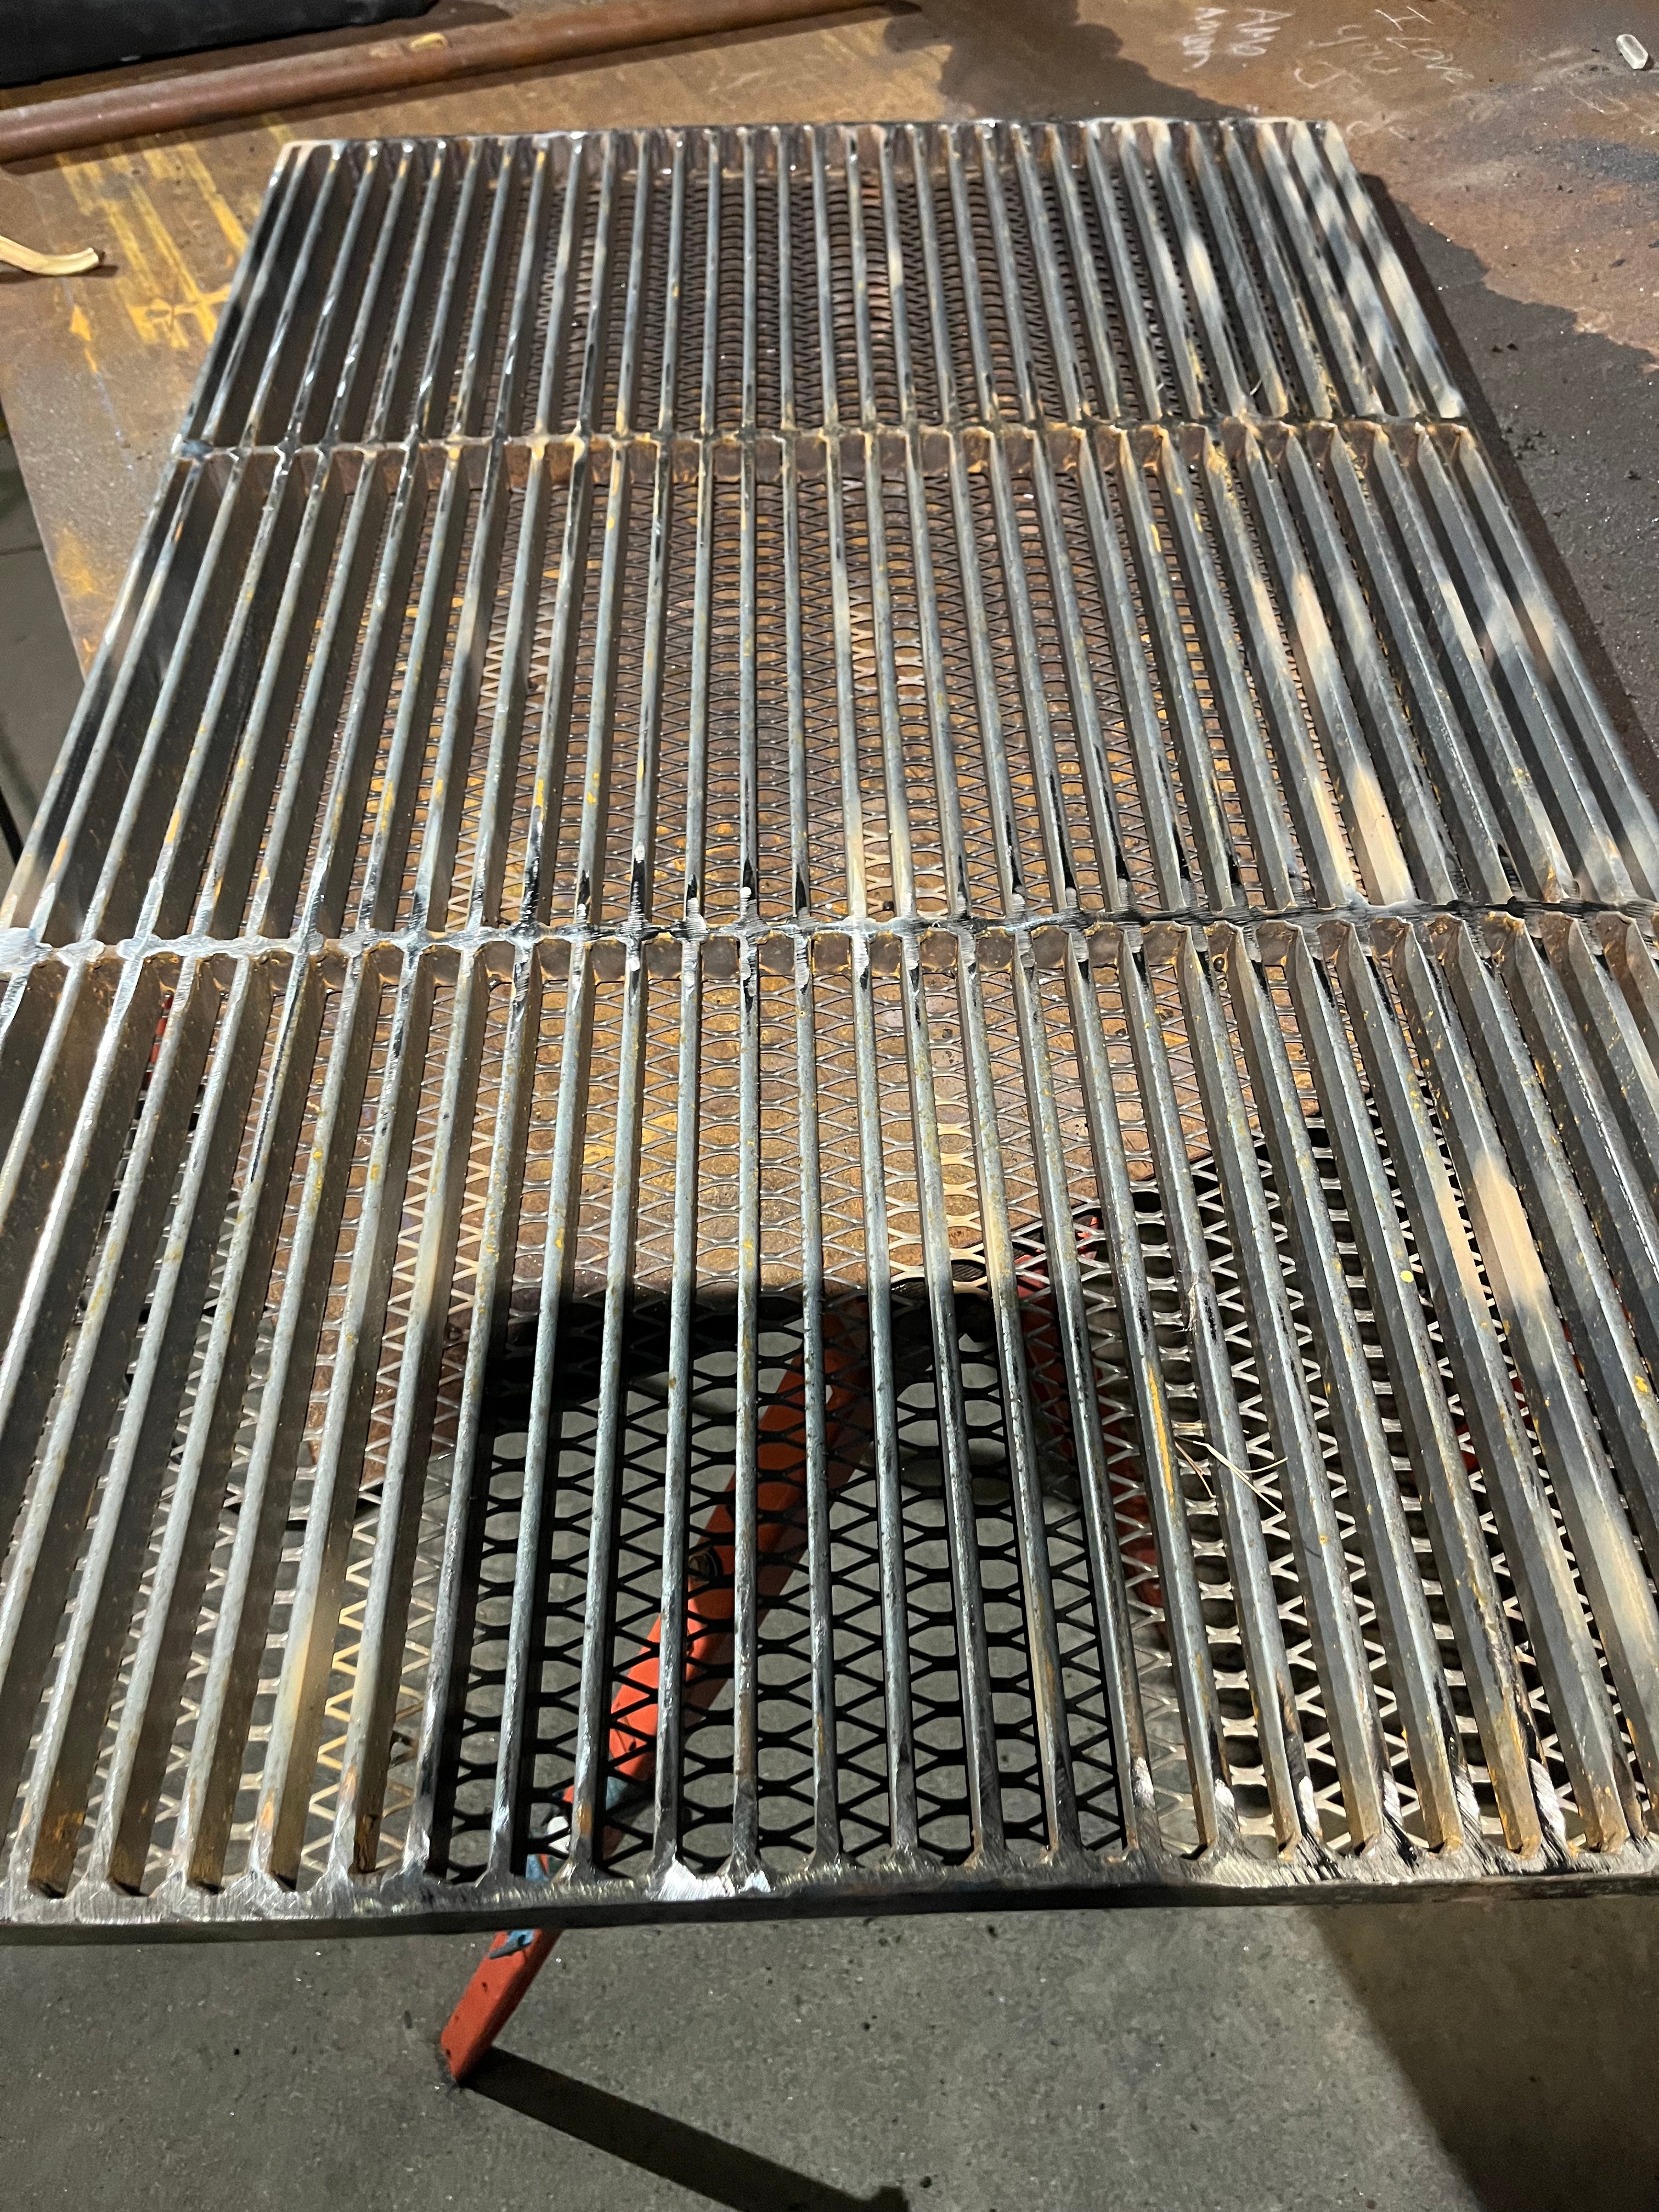
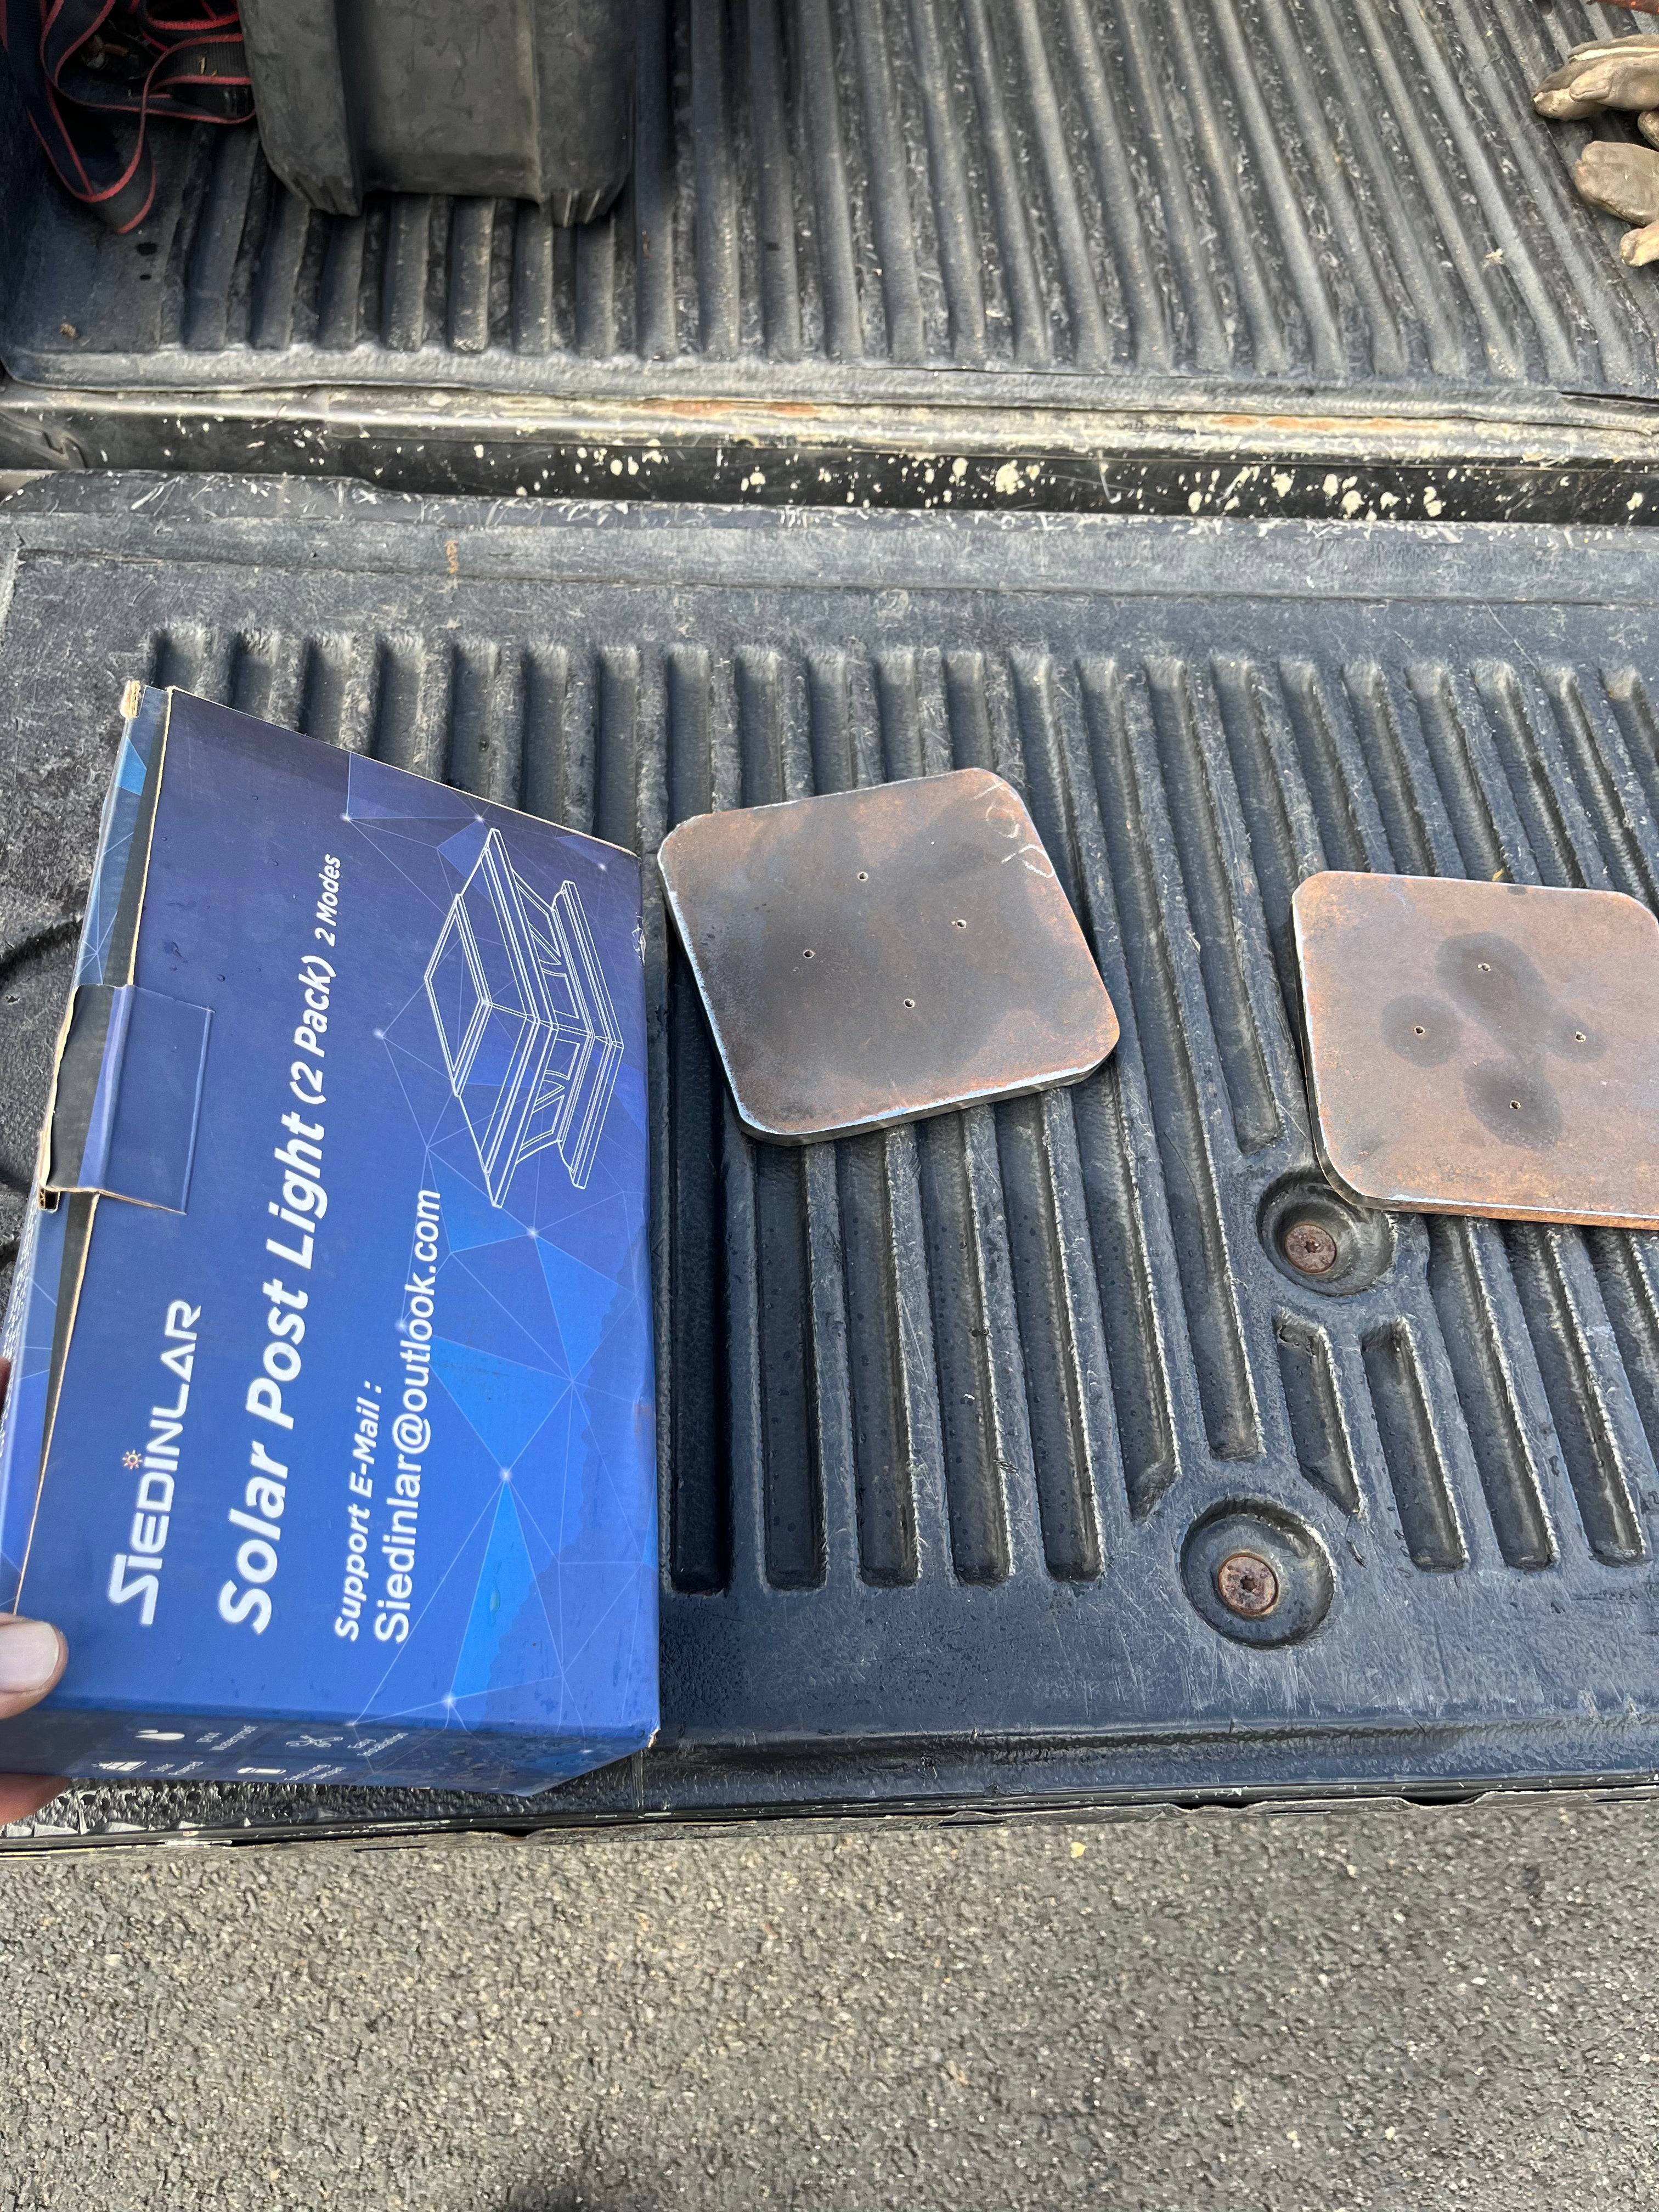
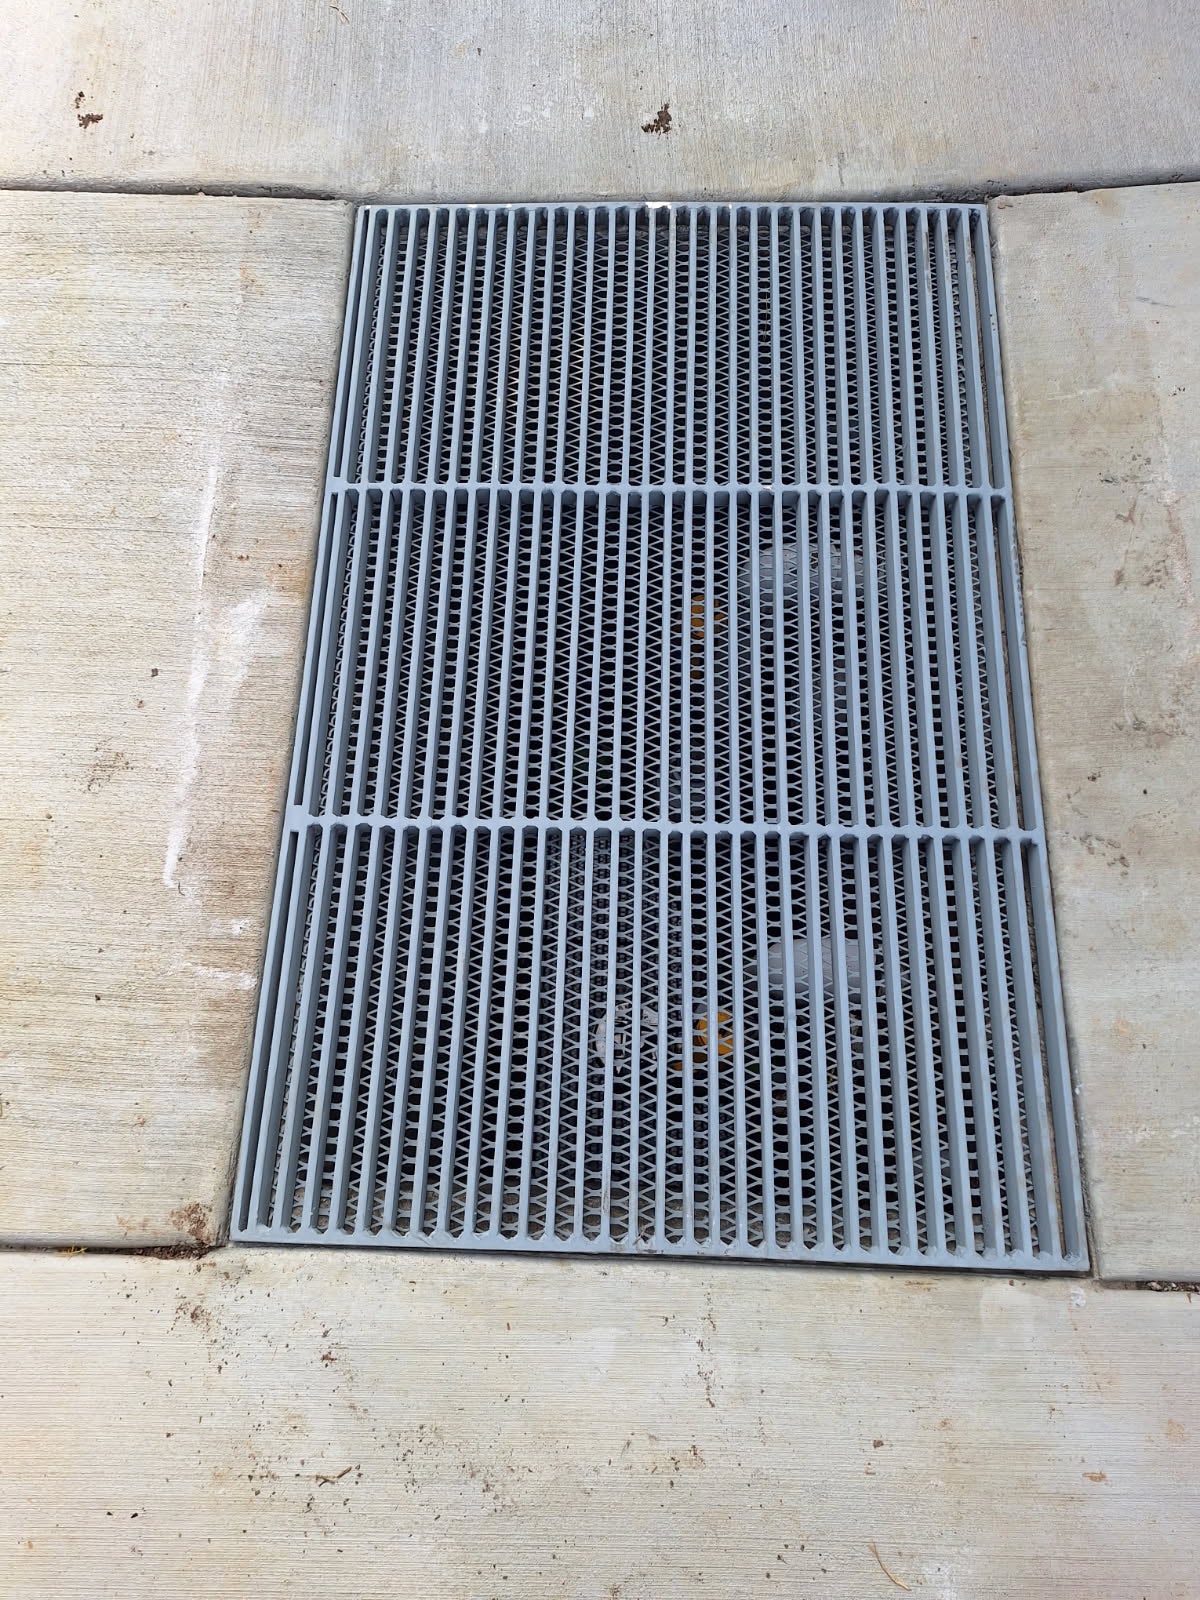
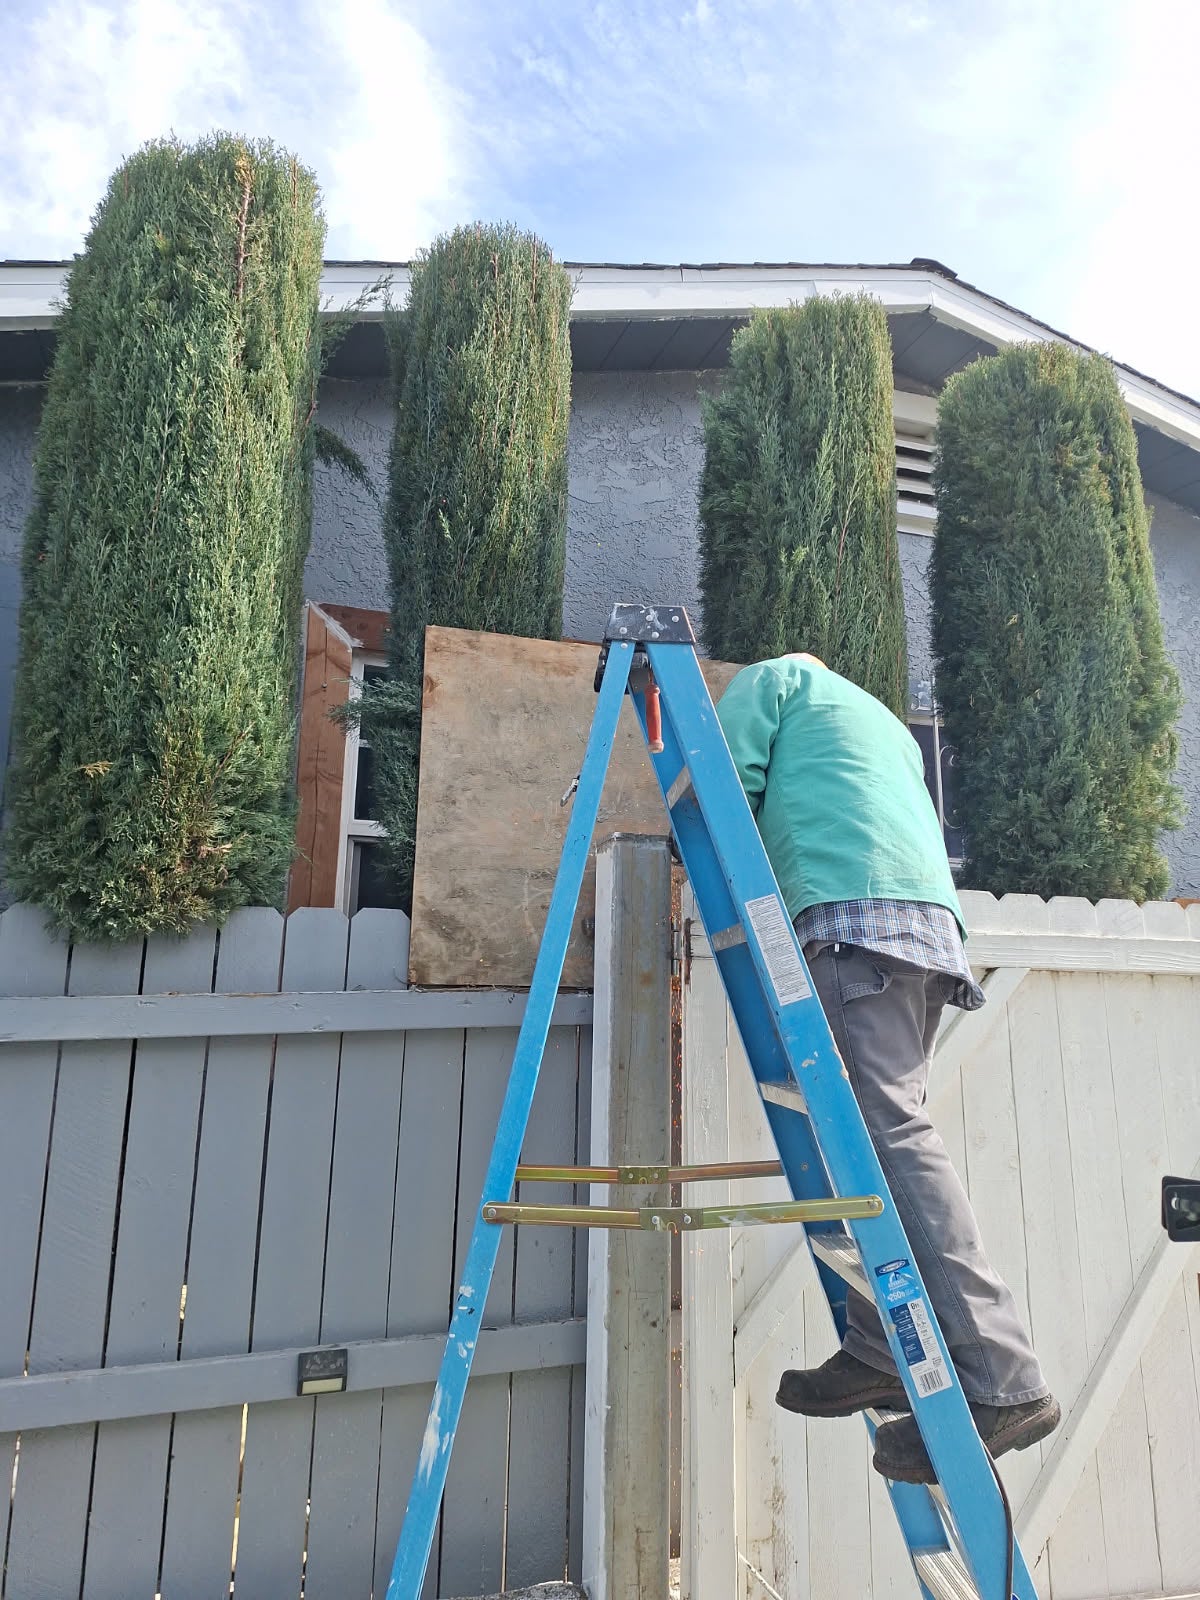


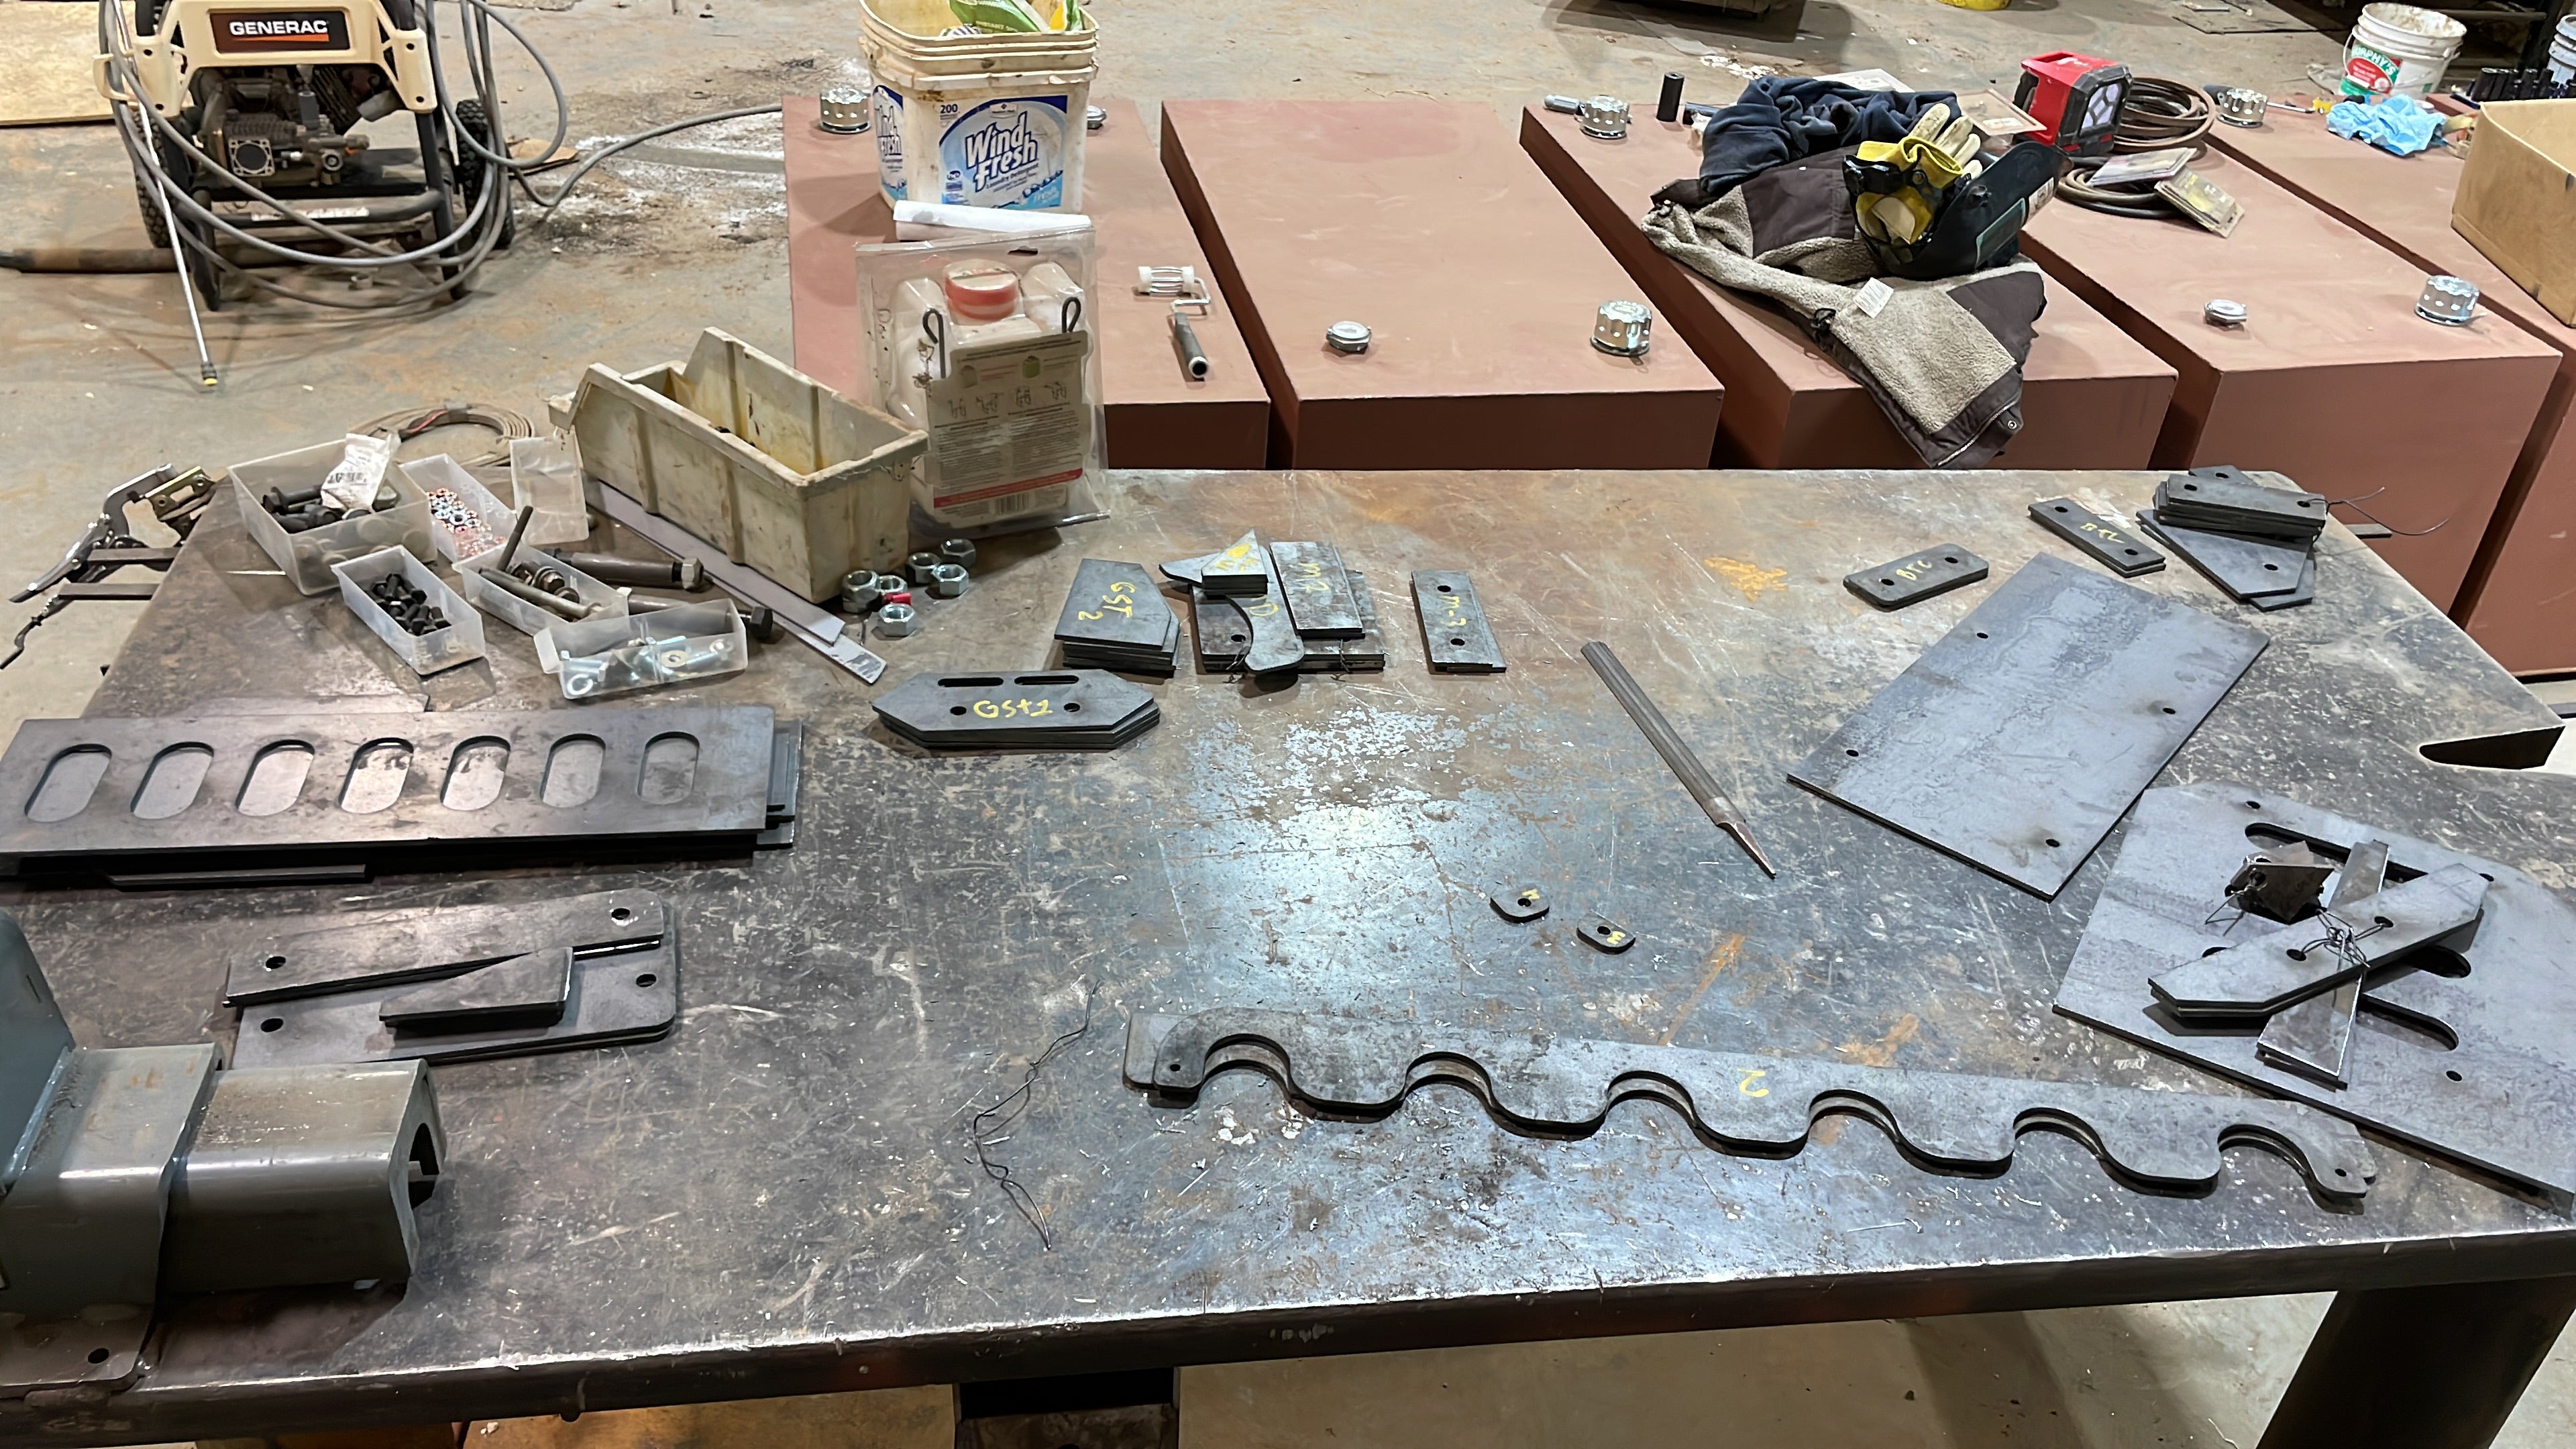
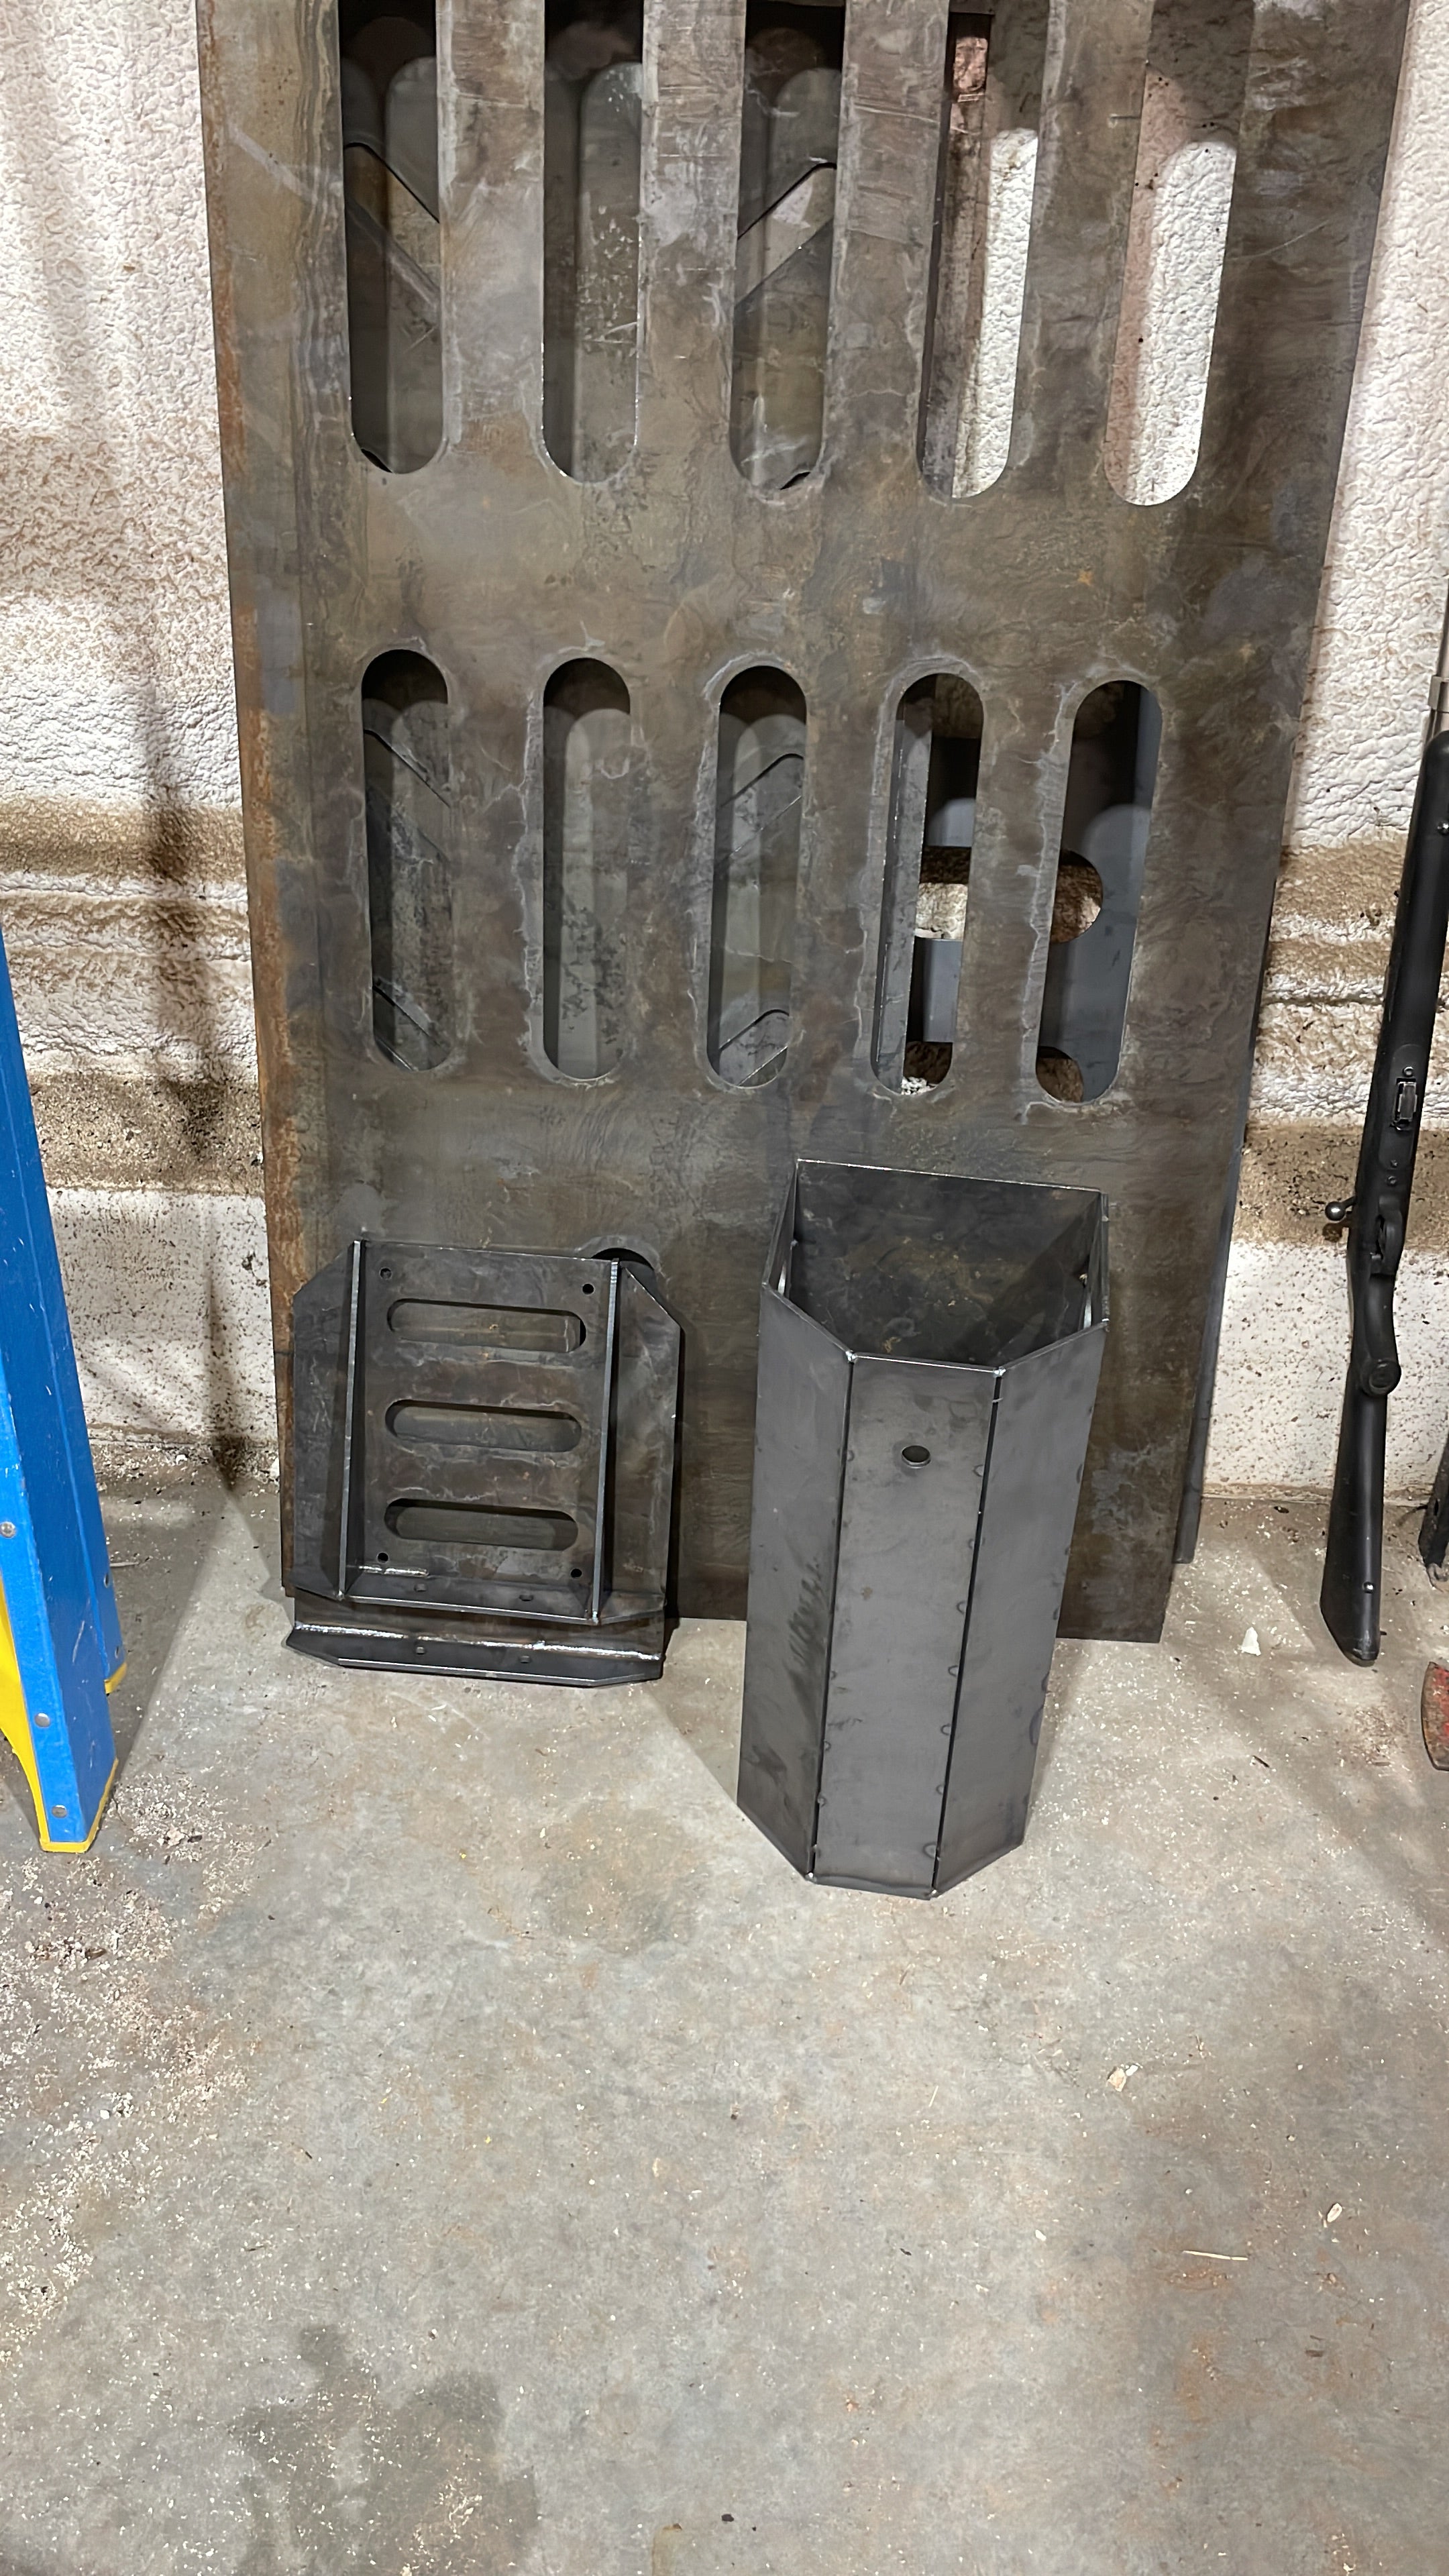
Just finished this little project building a grate for a sump pit and two caps for fence post. I couldn’t find the grate big enough to cover the hole in one piece, plus the customer asked for a screen to keep leaves out. I decided to just build one. After deciding to use flat bar instead of tubing I was able to plug in all numbers in a excel spreadsheet format I purchased from a guy @ a website “MADE FOR PROFIT “ and was able to quote the job at a 40% margin. I do this on my spare time by with these numbers I wanna do more .
The tools I used are mine , the leads are mine and the welder I used was station at my house , but when it came to being mobile, I got one from the the rental yard for 75$ a day.
I think I’ll hold off buying my gas driven welder for now.

January 14
Building a skid for my machine. The tubing hadn’t come in yet, so I’ve been working on the plasma cut parts.
January 06


My neighbor brought me a couple of receiver hitches that came off the fleet of snow machines that are used to groom the Iditarod trail before the sled dog race is run each spring. These machines take a pretty good beating, and the hitches have a couple of common failure points. He wanted me to see if I could add a few additional beads to beef them up. After burning off the powder coating and bead blasting, they were good and clean. Added a fillet around the three un-welded faces of the tubing, starting and ending on the ends of the lone factory weld. Then butt welded the inside end of the tube to the flange. He was very happy, and will be bringing in six brand new ones to receive the same mod, before they install them on the fleet. I chose ER312 filler, as I wasn't sure if it would be 100% clean, and it's supposed to leave a ductile, crack resistant weld. Plus, I just like the way it welds! Turns out the weed burner/bead blast got it plenty clean, so I'm sure plain old ER70S-2 or -6 should be fine for next ones.

December 29, 2024
• Edited (Dec 29, 2024)

This was brought to me by a locksmith. First time with a cast aluminum repair. Should I use High amps and move quickly or lower amps and progress at normal speed? What settings would be generally recommended for such a small part made of cast aluminum? Also Using CK Lazer green tungsten with my Primeweld 325x…. Any help would be highly appreciated!
December 03, 2024
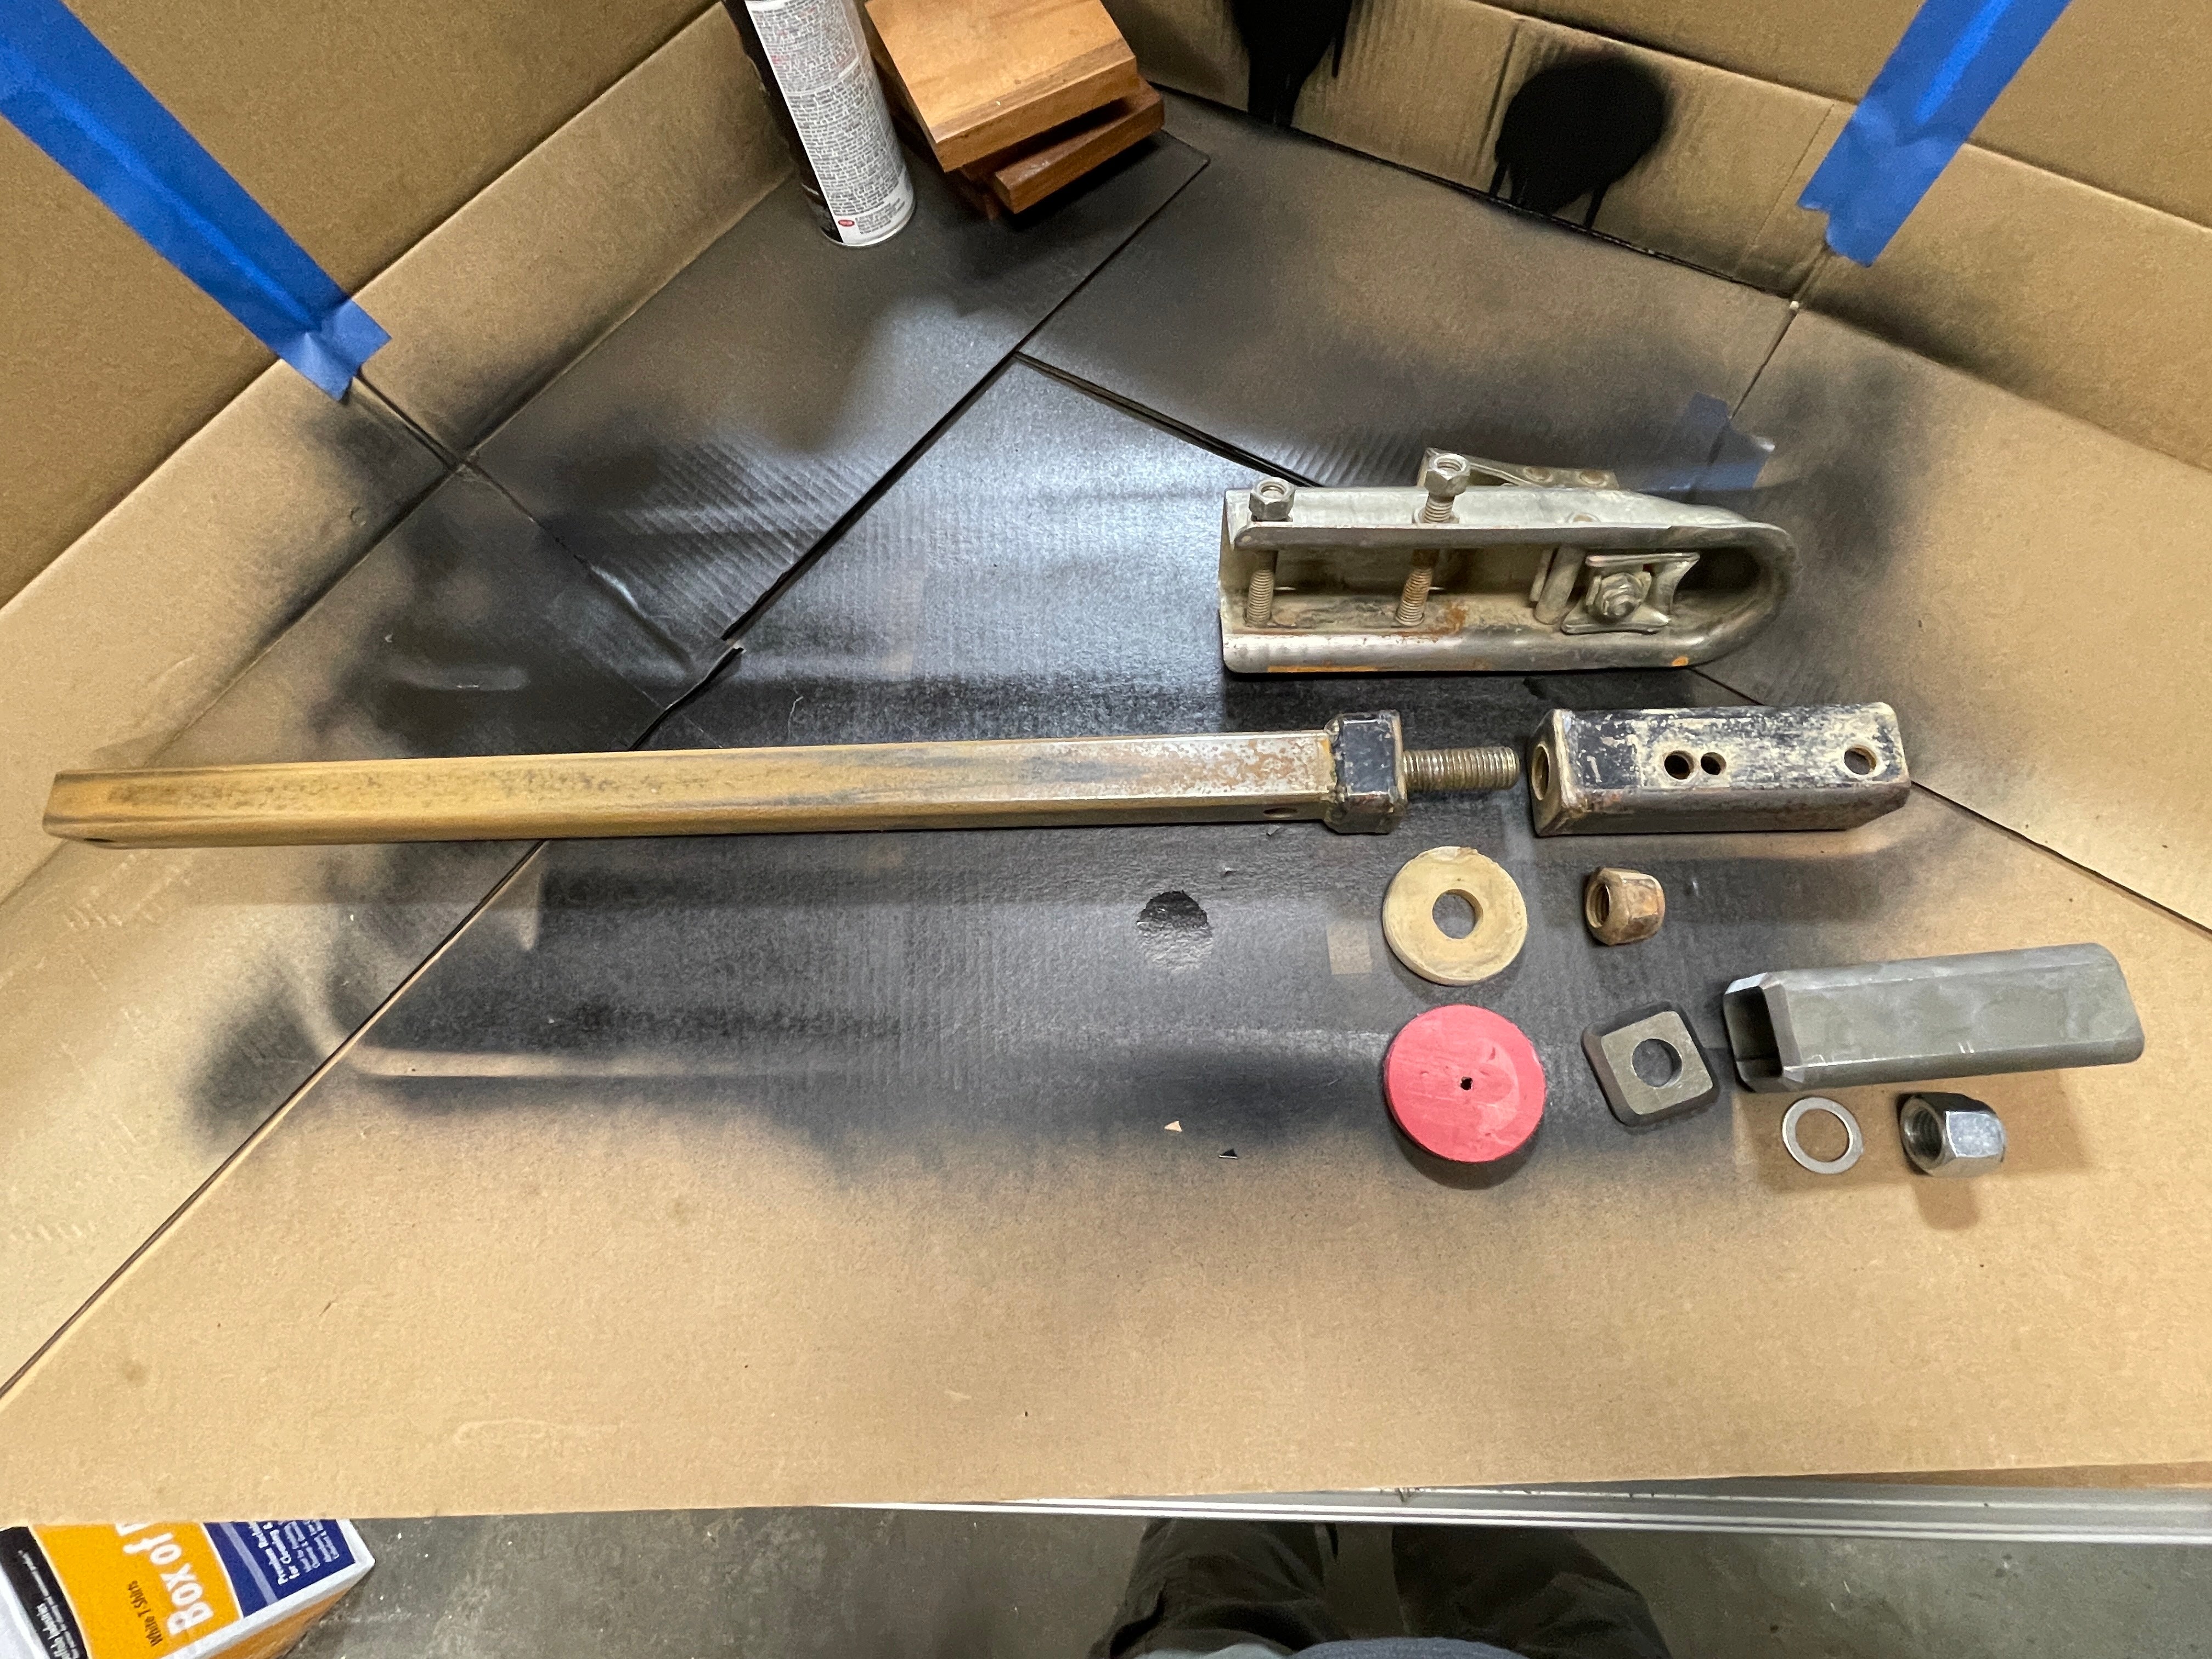
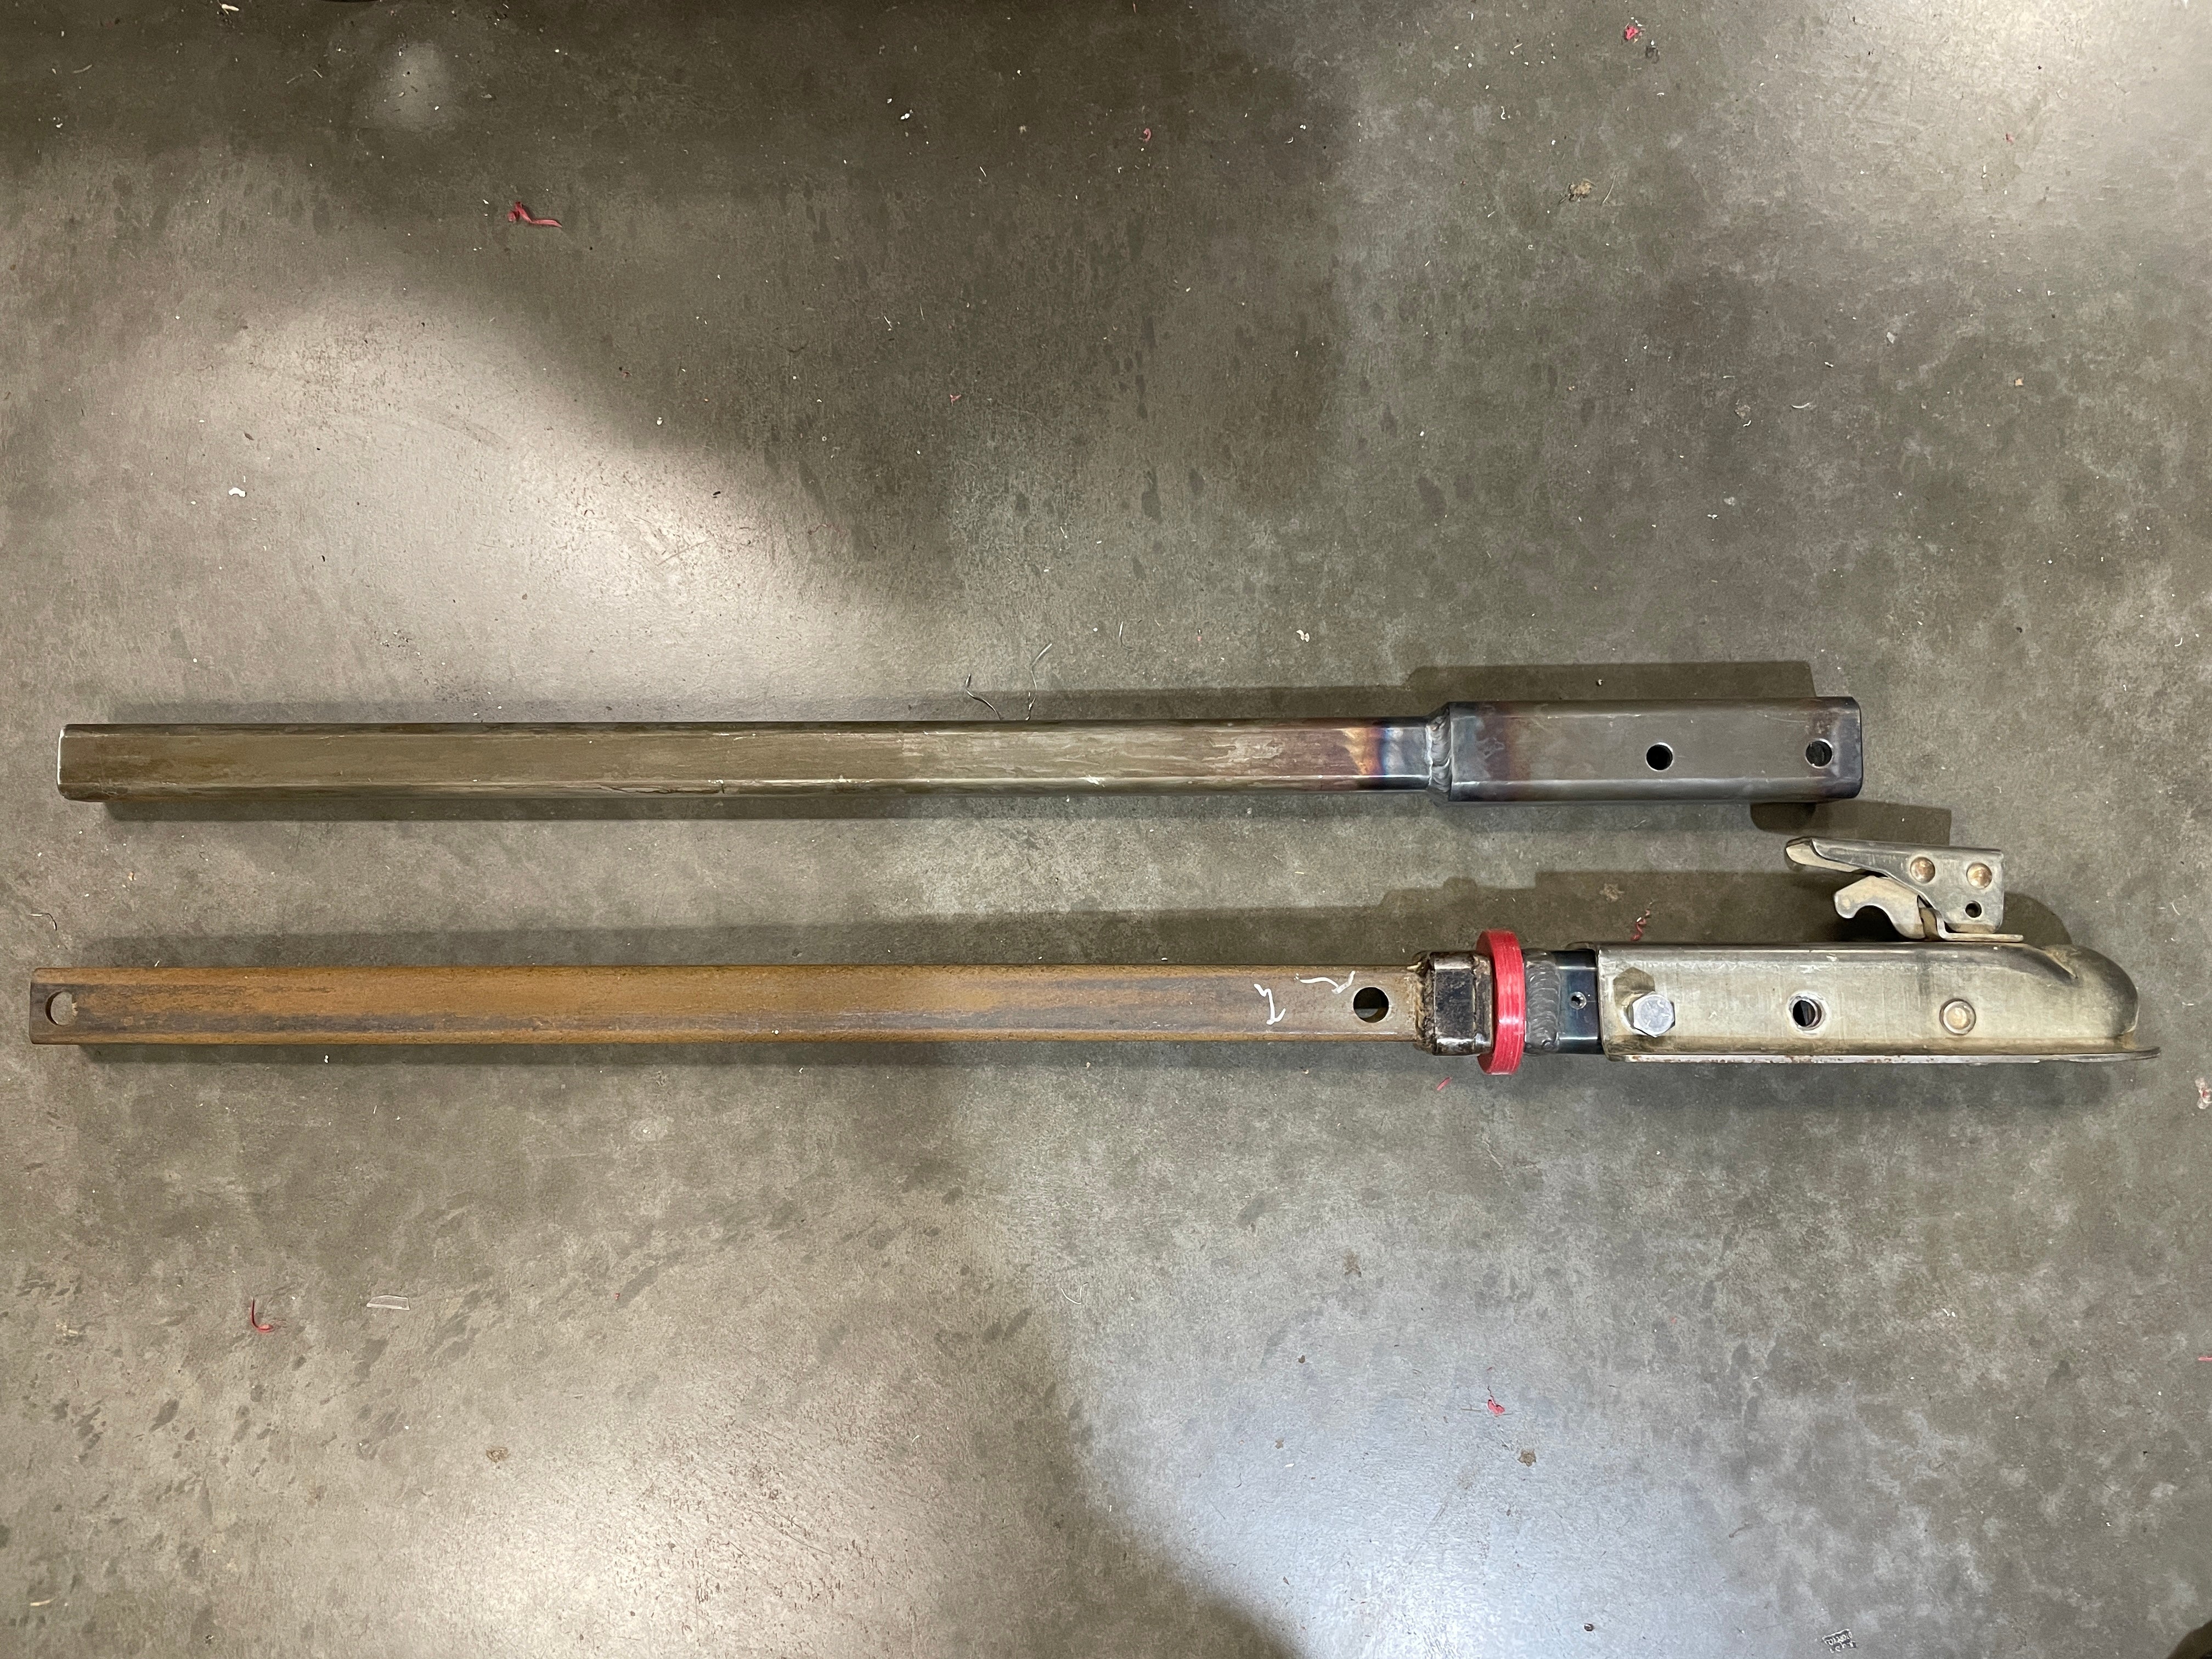
Repaired the tongue for a hunting guides ATV/UTV trailer. It had a custom made swivel built into the hitch end, so the trailer and ATV can roll without stressing the hitch. It sees pretty hard use, and was just worn out. Mainly due to him not being able to periodically tighten the 7/8"-9 nylok nut to keep the play at a minimum. So, when I made the new one, I drilled/tapped a 1/4"-20 hole on the sides so set bolts could be screwed in to trap the nut. Then the whole assembly becomes the wrench to tighten the nut. When they're backed out it's free to swivel again. He also wanted a duplicate solid version made to keep on hand for an emergency spare. The camp is a good hours bush flight away( no road access ), so failures are expensive out there. No McMaster-Carr deliveries there!