
img_3444.JPG
Thanks Charles. Yes, valve body is brass/bronze. Edit to add a photo of the valve body.
Replied on More machining than welding, but got ...
Thanks Charles. Yes, valve body is brass/bronze. Edit to add a photo of the valve body.
Posted


More machining than welding, but got to at least weld a little today. Turned a slug, and milled a square hole in a round peg. then welded a piece of tubing that the end of a shaft will eventually fit inside and be welded. This will ultimately operate the oil valve that feeds the burner of a steam locomotive boiler. Got to try out the TIG function of the engine house's Miller Multimatic 220. It seemed to make a nice smooth DC TIG arc. I'd stick welded 7018 with it before, and it did that well(but I don't believe it will run 6010.) I was happy with it, considering it was the first TIG bead I'd ever ran with it.
!/8" wall tube to a square socket made of 1045. Pre-heated the 1045, and welded at 150A. ER70S-2. There's a 1/2" long stub that the tubing is pressed over to locate it, so it had a nice heat sink behind it.
Commented on Good updates on Jody for those intere...
Replied on Recently became aware of these Knipex...
Posted
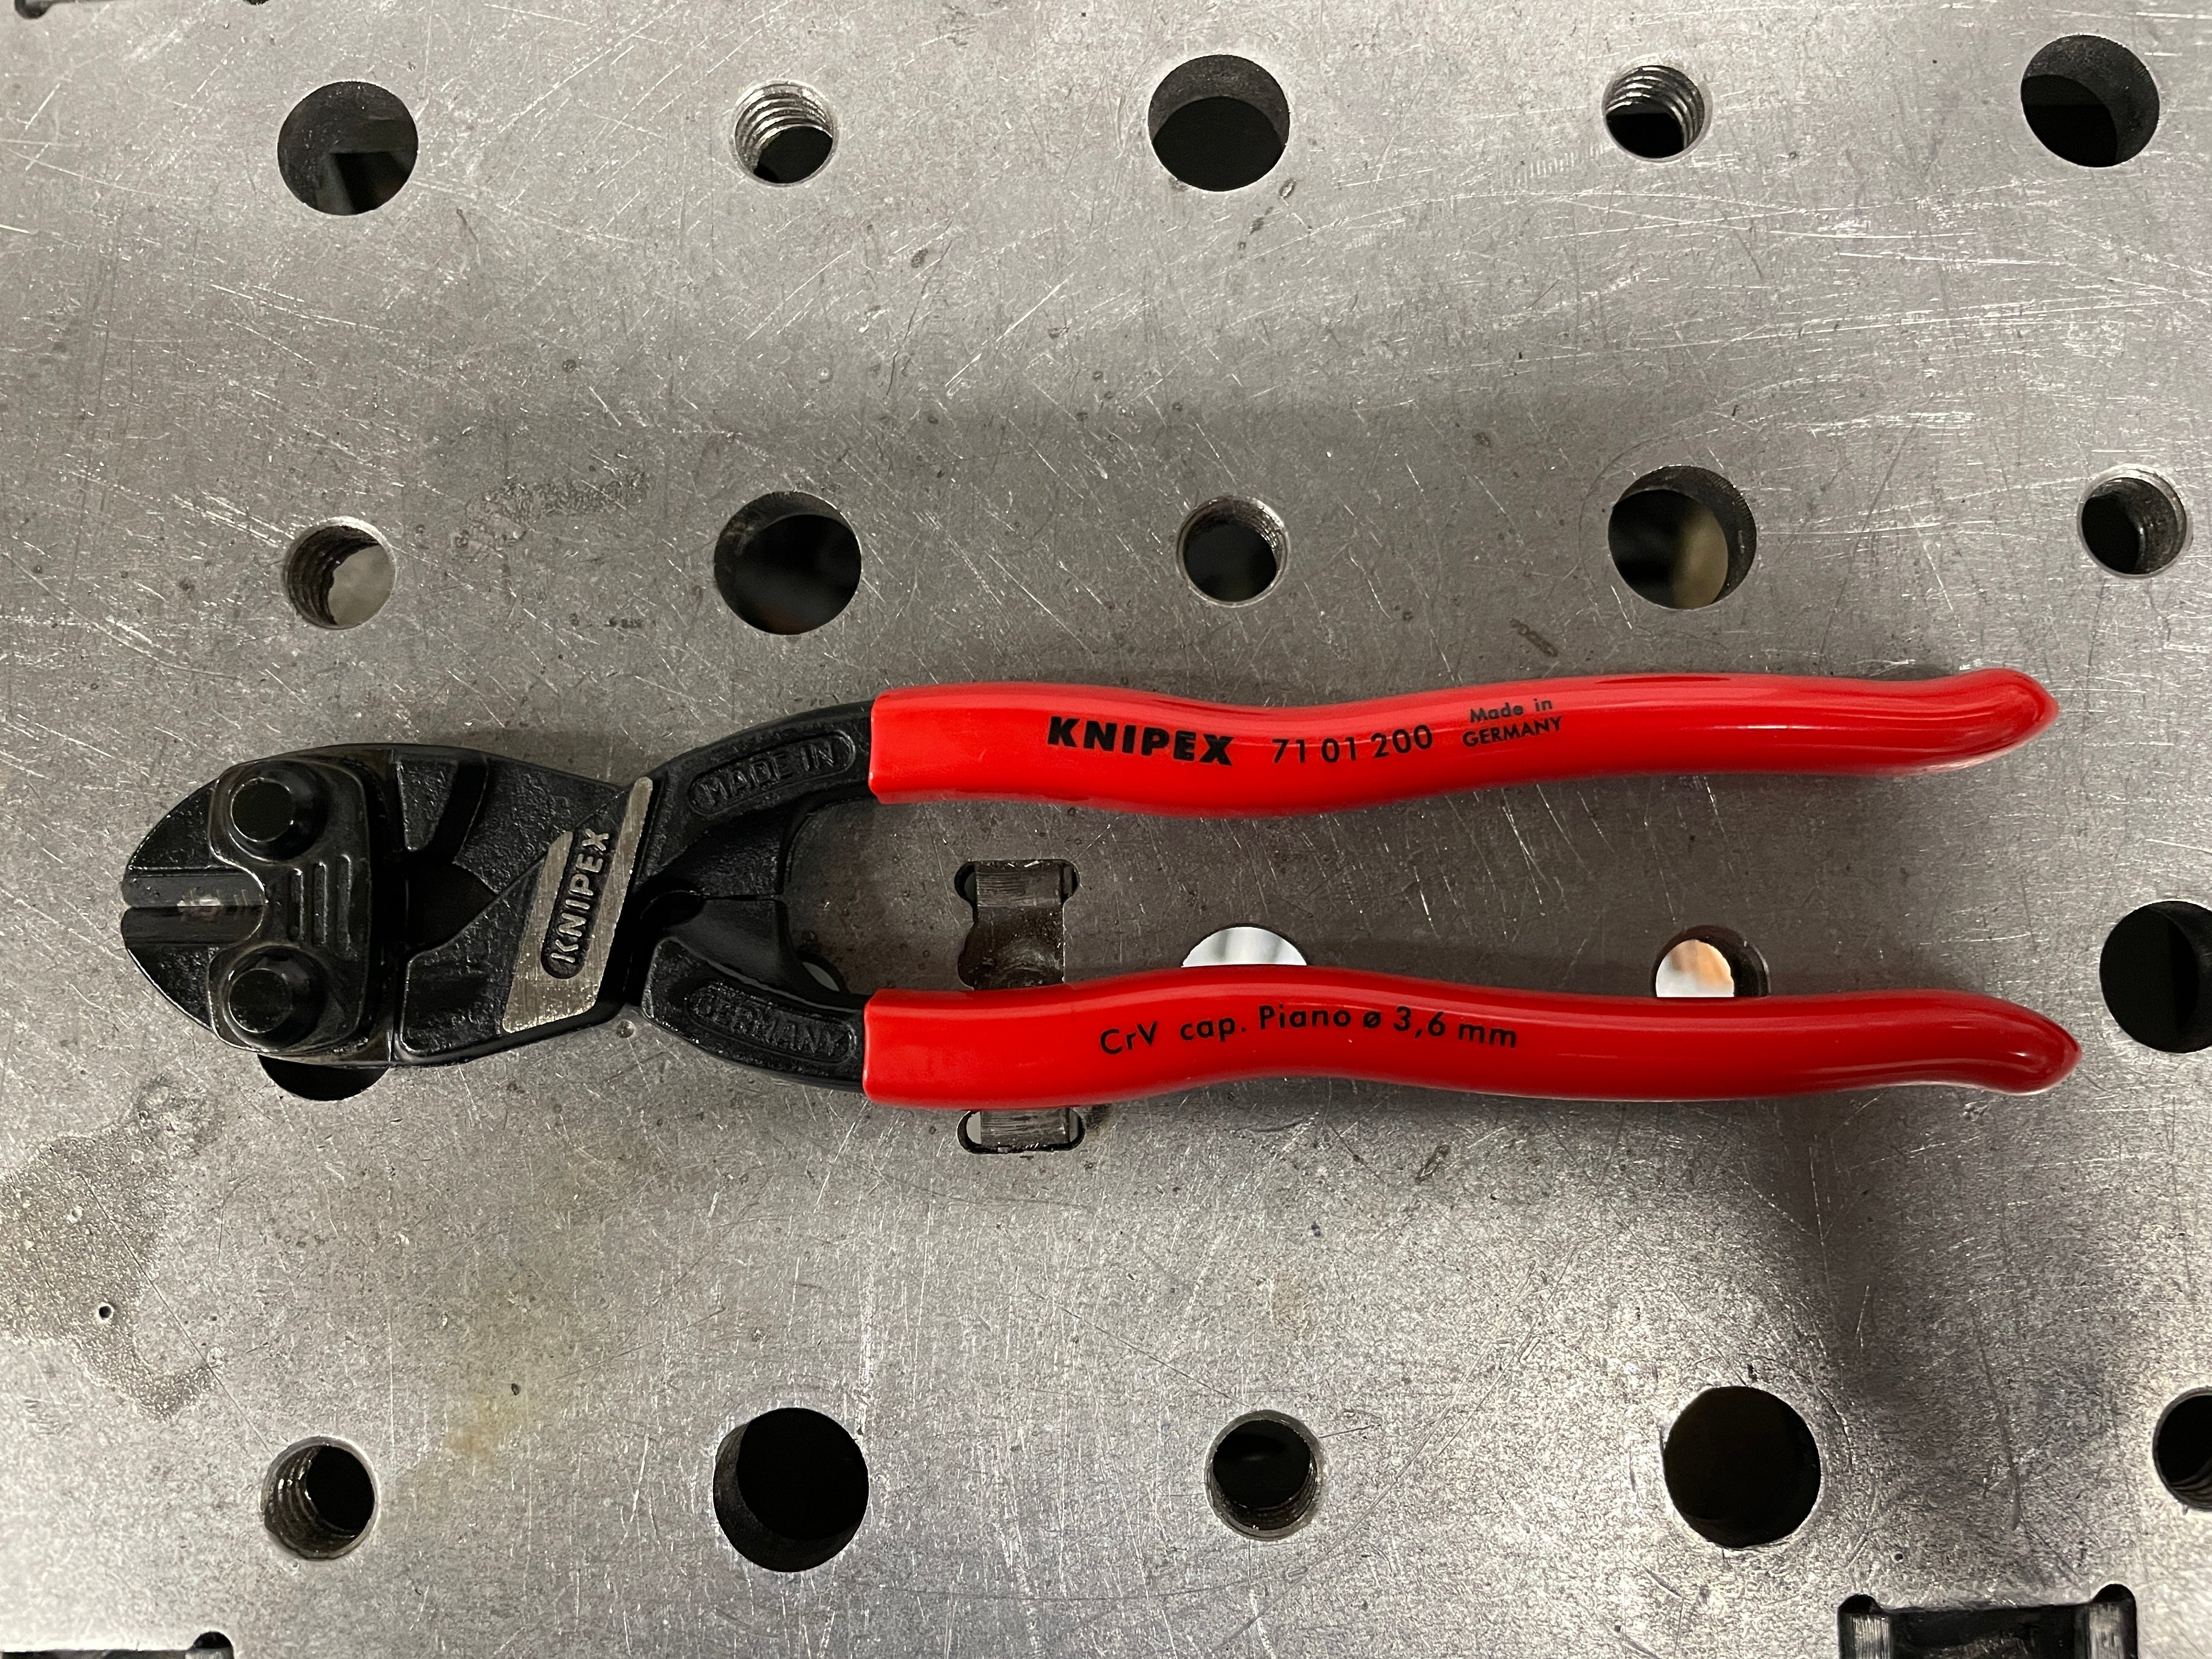
Recently became aware of these Knipex mini bolt cutters. Man, they make cutting 1/8" steel and stainless filler rod so much easier. No more Welpers for me. They'll be on the MIG cart where they are best suited. At fifty bucks, I think they're a bargain, considering they're a high quality German made tool, not some Chinesium POS.
Edited to correct the price. I paid around $50 not $30. They'll outlast me, so I think its still a good value.
Replied on Tagging Matt Hayden as we'd communica...
Replied on Tagging Matt Hayden as we'd communica...

Got in some practice time with it today, and ya going to like this stuff for general fab work. Made another organizer for bar/round stock out of scraps & cutoffs I've been hoarding, and tired of tripping over. The schedule 80 pipe pieces are from a smoker build from 10 +years ago....time for it to be put to use! This wire is hot and really digs in. Made no attempt to clean this metal, and it welded great and still very little spatter.
Posted
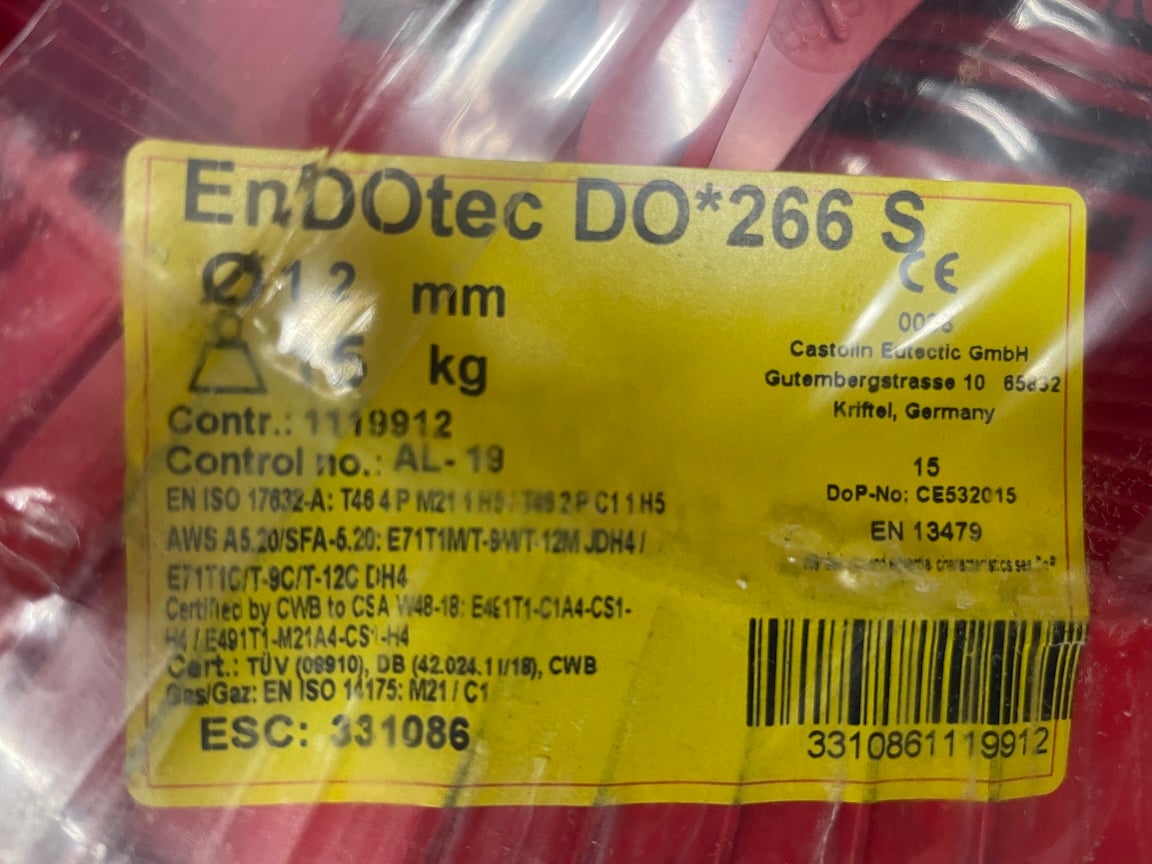


Tagging Matt Hayden as we'd communicated earlier on dual shield questions. Wasn't happy with the performance of the Lincoln 71M dual shield wire I tried. No matter what I did, there was random worm tracks, lousy root fusion in 1F, and man it was smoky. Decided to try another flavor and wow what a difference. This is Eutectic DO266S set at 25V/250 IPM 40 CFH 75/25 gas. The first thing I noticed was a fraction of the smoke, and no worm tracks. Wet in really nice. And even in 1F there's root fusion. Very promising. Still need to get used to it. Definitely need to slow down for more fill, and shift my aim up a little, as I'm favoring too low in the fillet. This may end up my go to dual shield. It's a little spendy at about $8.79/pound, but it works.
Commented on Sam Hagan - Duramax
Commented on Just got my first engine drive welder...
27 May 10:08
Nice....congrats! What model of Trailblazer is that?